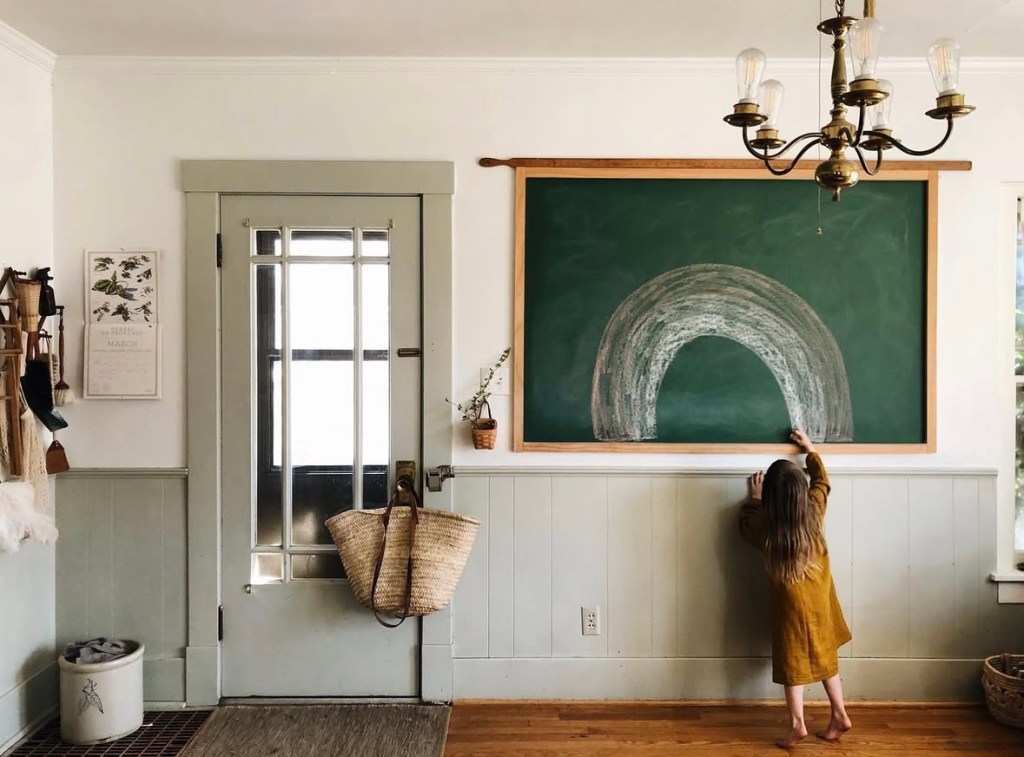
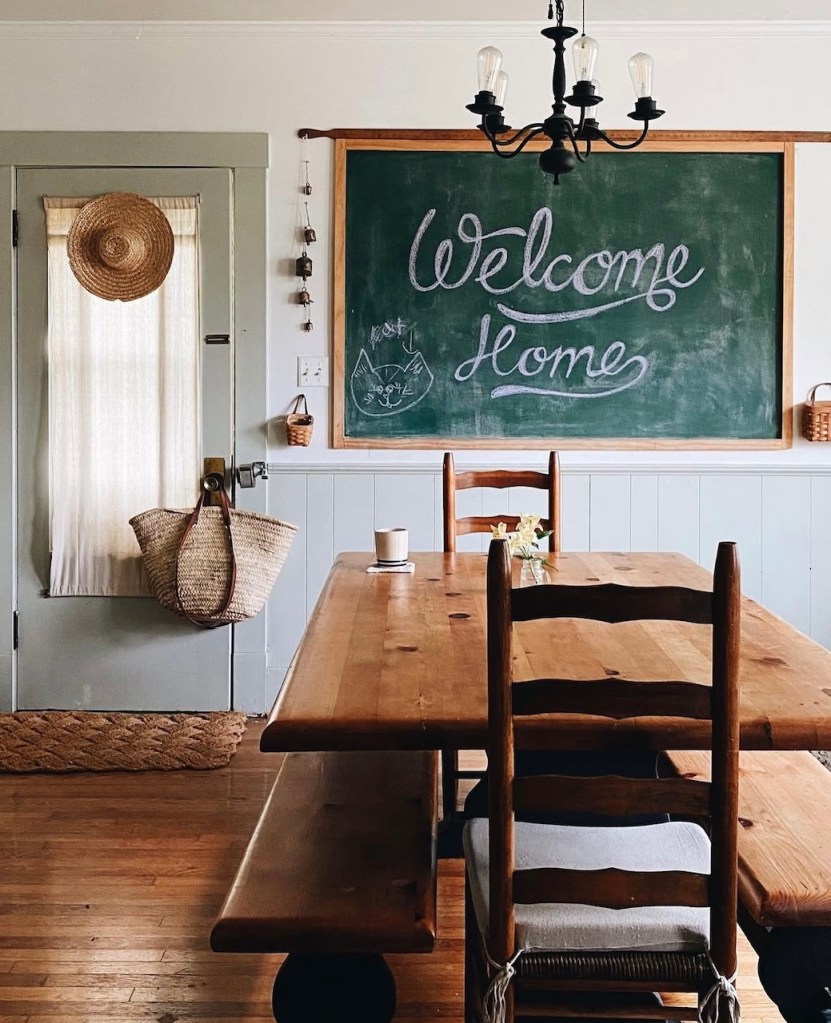
I get a lot of questions regarding our chalkboard. People are often curious where we purchased it, and I never tire of telling people we made it and letting them know they can easily make one for their homes as well! With the beginning of the school year being here, I thought it would be a good idea to refresh our little tutorial on our DIY chalkboard.
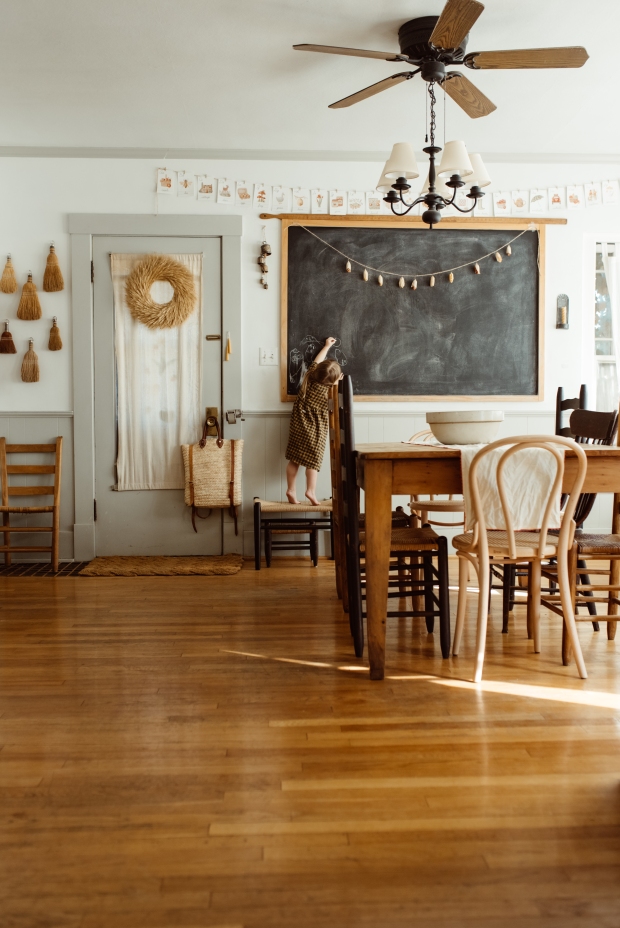
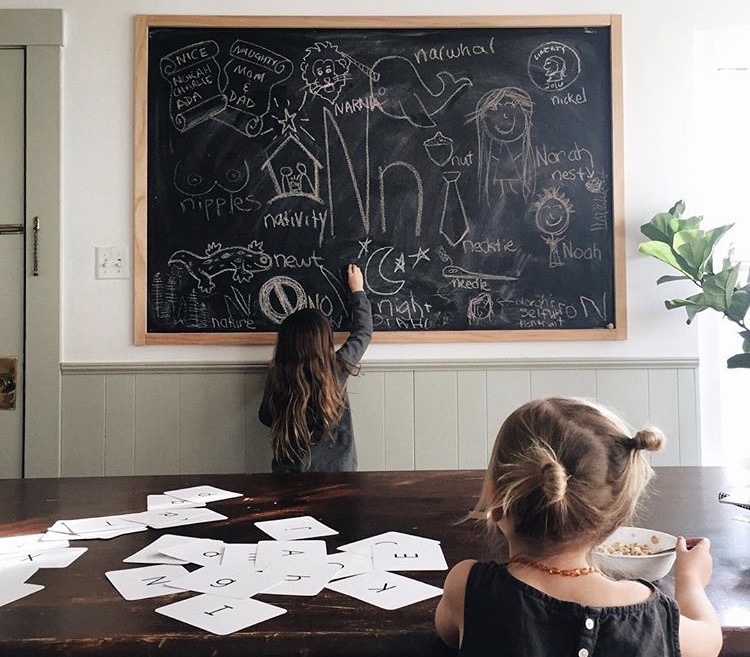
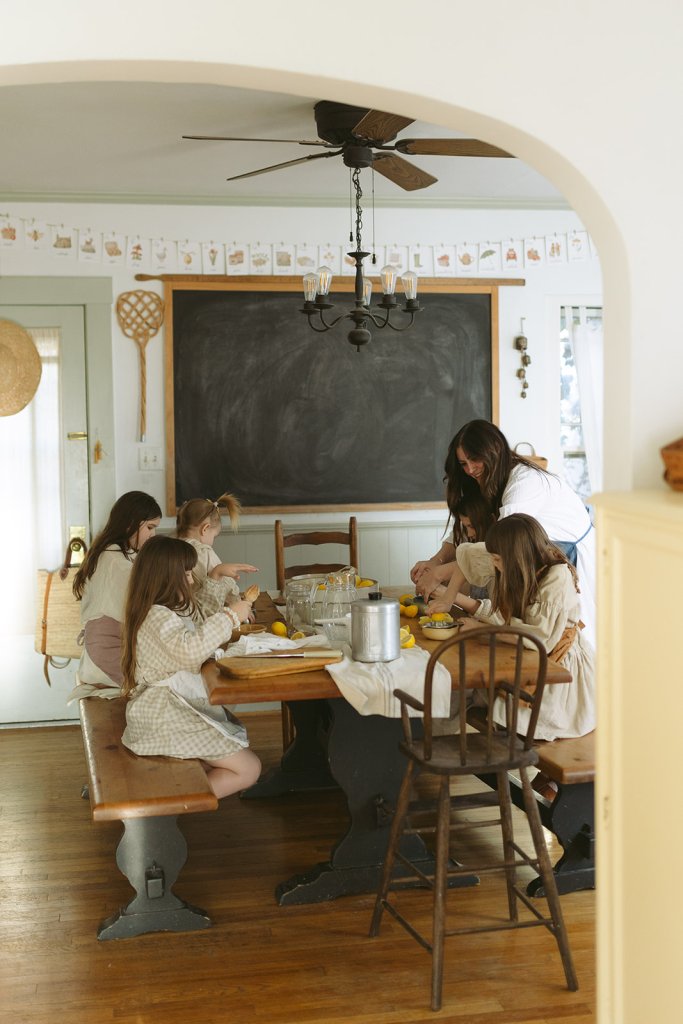
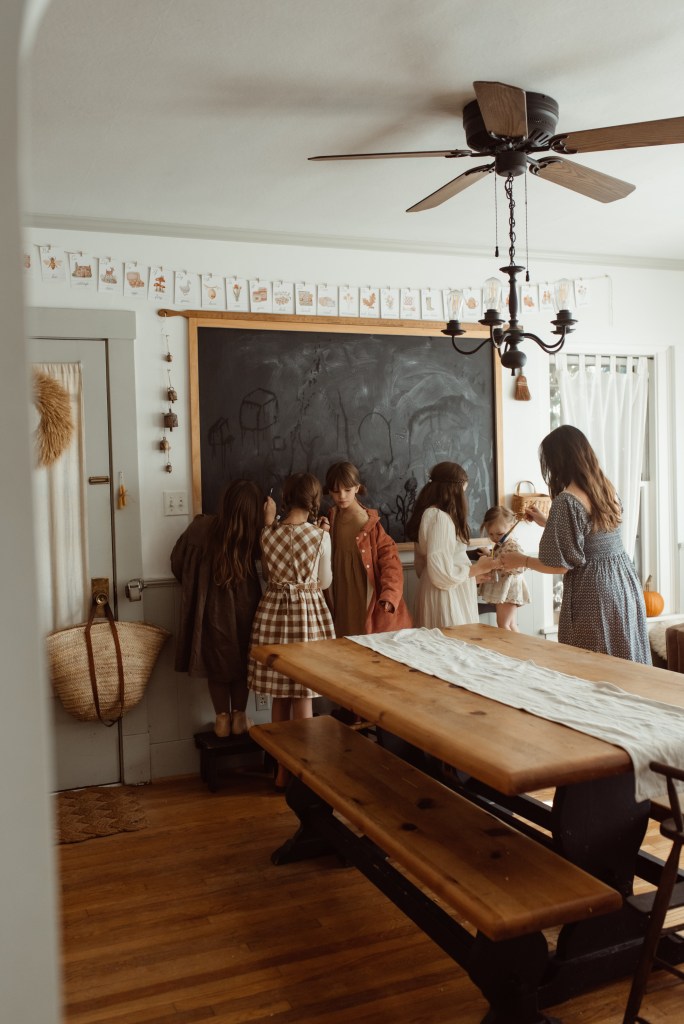
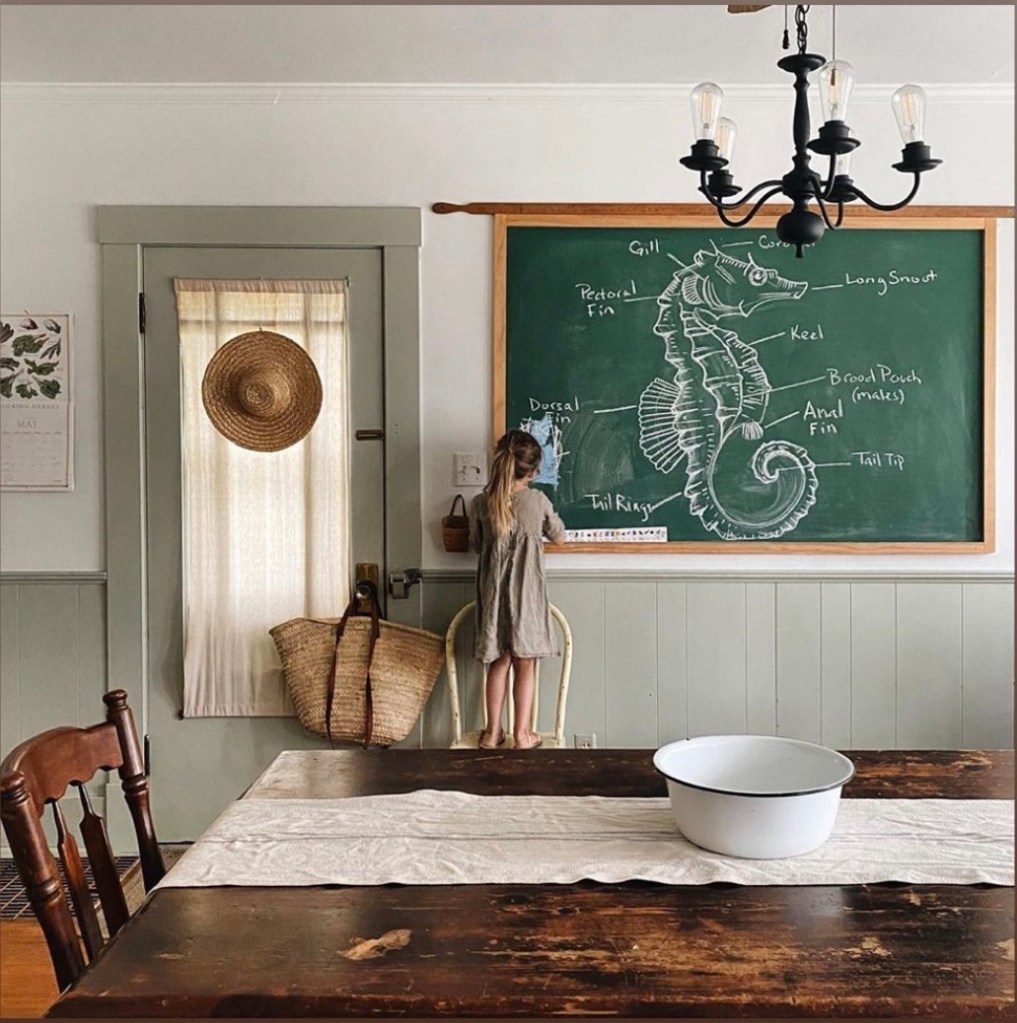
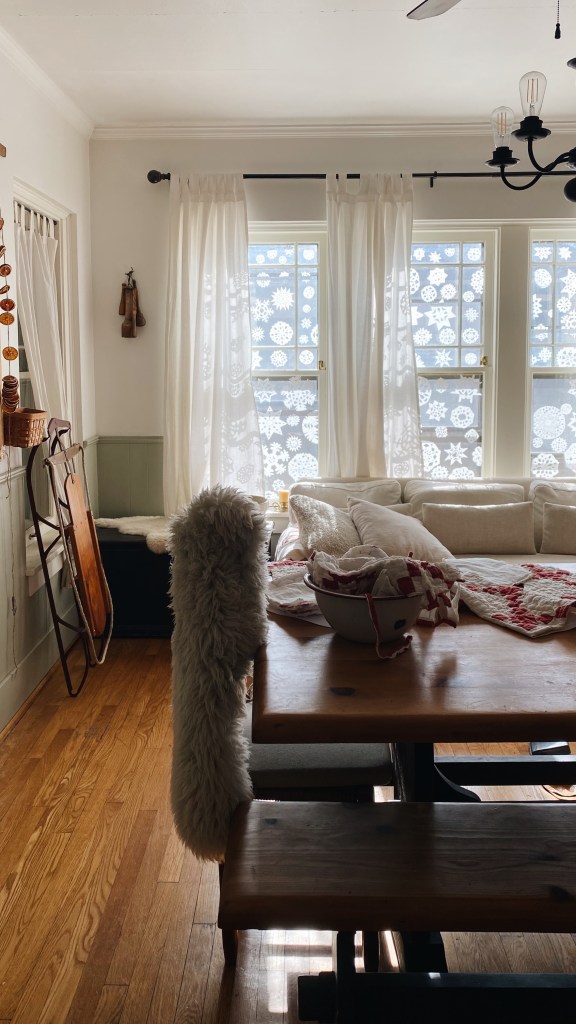
When we bought this home, we were in our early days of home education and figuring out if we were really going to go for it or not. Full disclosure, I didn’t know I was going to be a home educating mother until I was one. We decided our dining room made the most sense to be a school room, but it was missing something… A huge chalkboard!
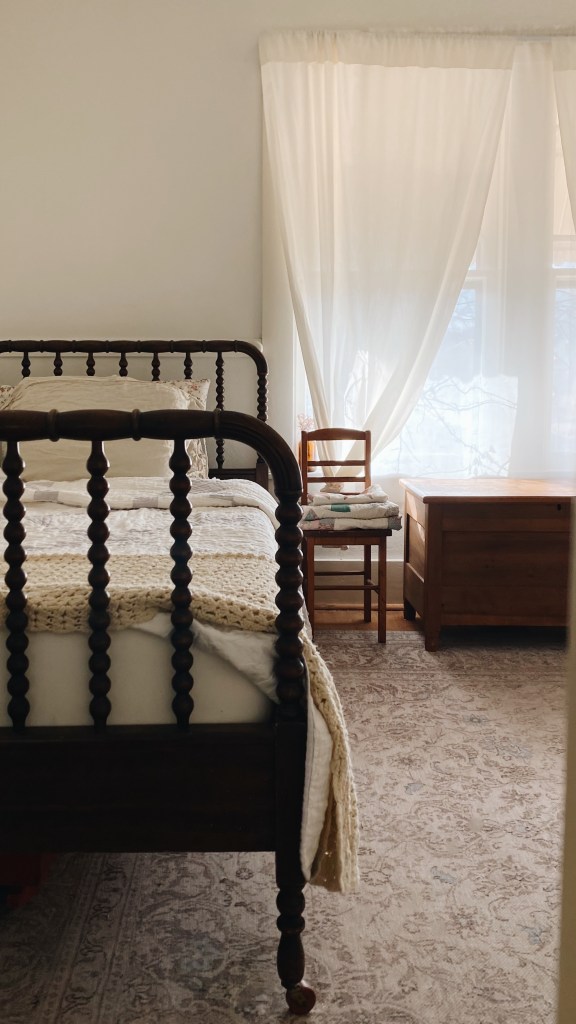
This 1930’s beauty of a home has a lot of charm, but also plaster and lath walls. And I don’t know if you are familiar with these types of walls, but they aren’t the best to nail into. And when I started to look for chalkboards in antique stores, they weren’t really in our budget. So, Chris has the genius idea to make one that wouldn’t destroy our walls, was in our budget, and has held up wonderfully for a decade! All we needed was some chalkboard paint and pine 1×2’s!
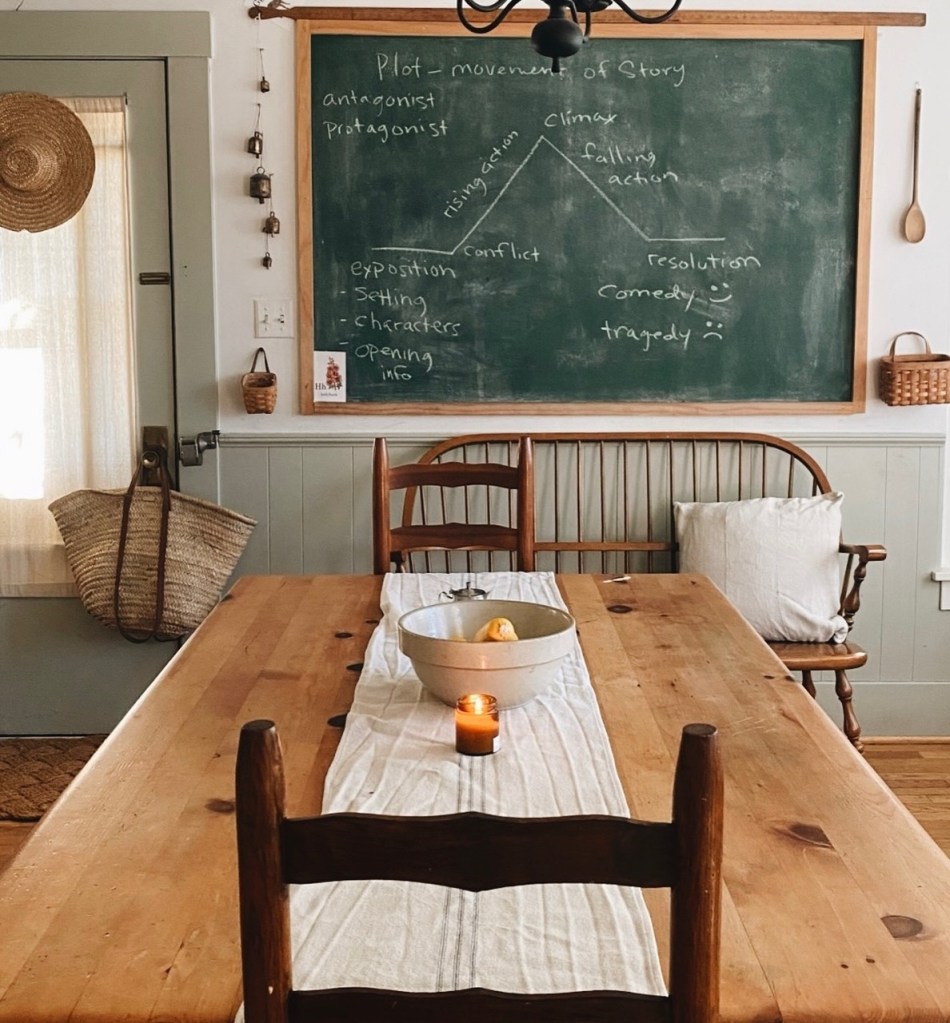
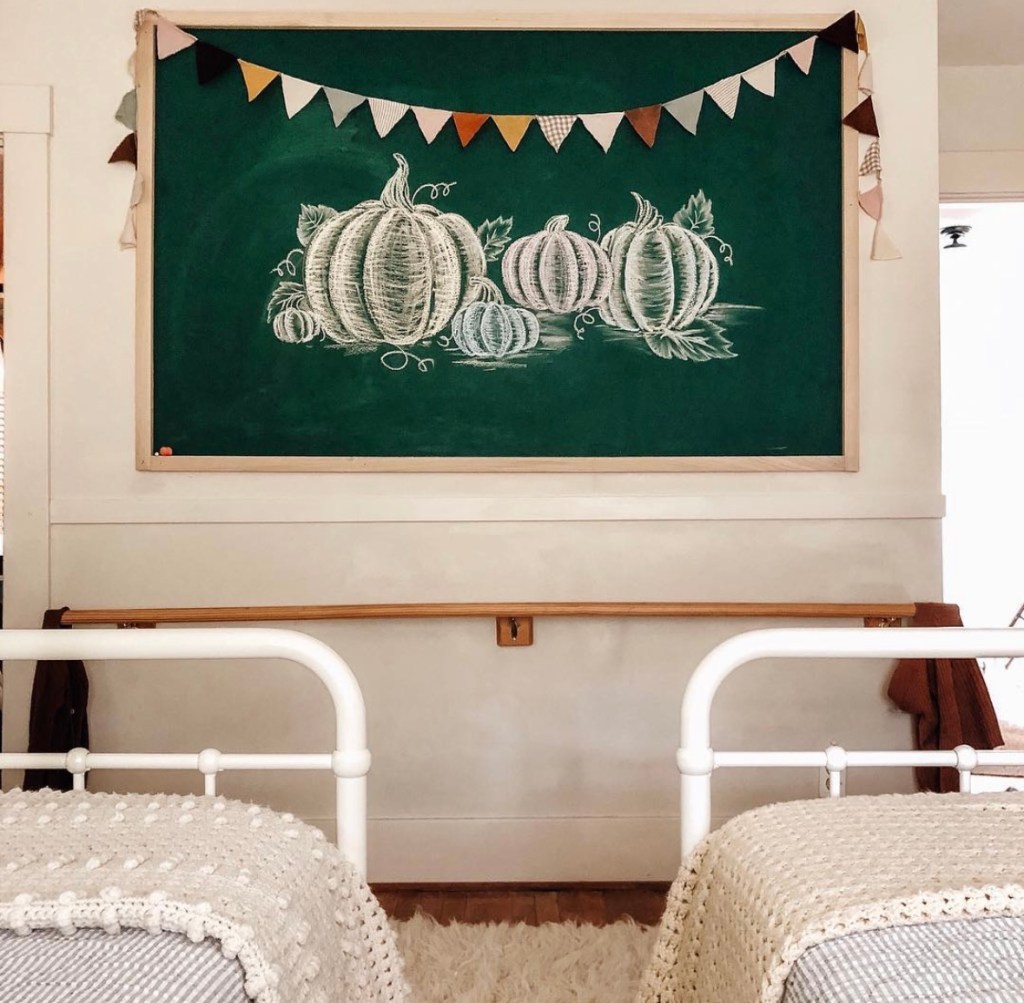
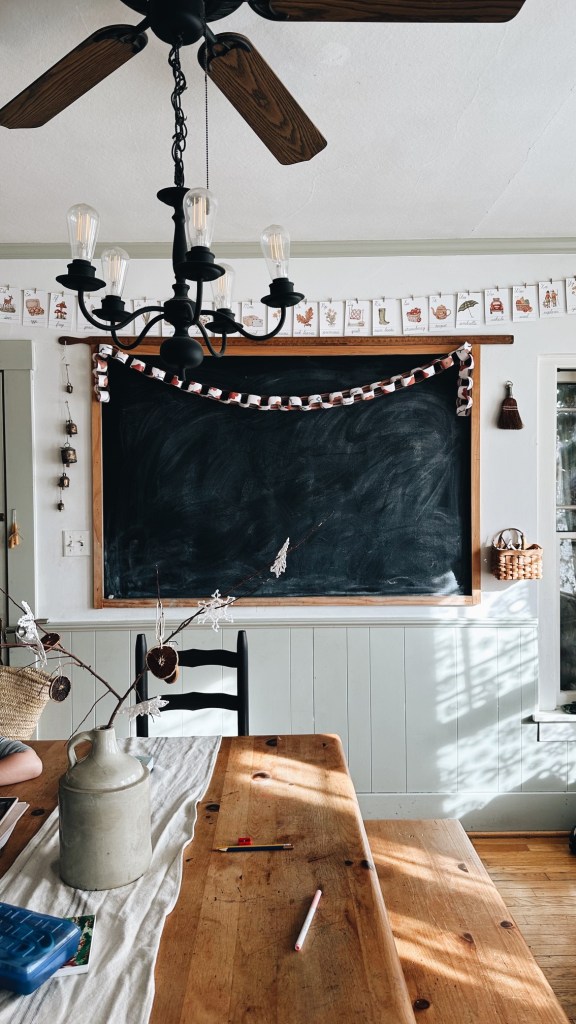
We got both from our local hardware store for less than $20!!! Chris measured and taped off the wall and rolled on about 3 coats of the chalkboard paint. The prices have gone up a bit since then, but these are the paints we used. Black Chalkboard Paint & Green. We had an idea of how big we wanted it so we knew what length of 1×2’s to get before we purchased them. Then he just cut the sides to fit. Once the paint dried, he simply nailed the 1×2’s to the wall! Our chalkboard is roughly 65”tall x 45” long. We’ve had friends stain their wood dark, use pallet wood or larger planks, add chalk holders to the bottom, use green chalkboard paint, paint the entire wall without framing it, make smaller chalkboards, etc.
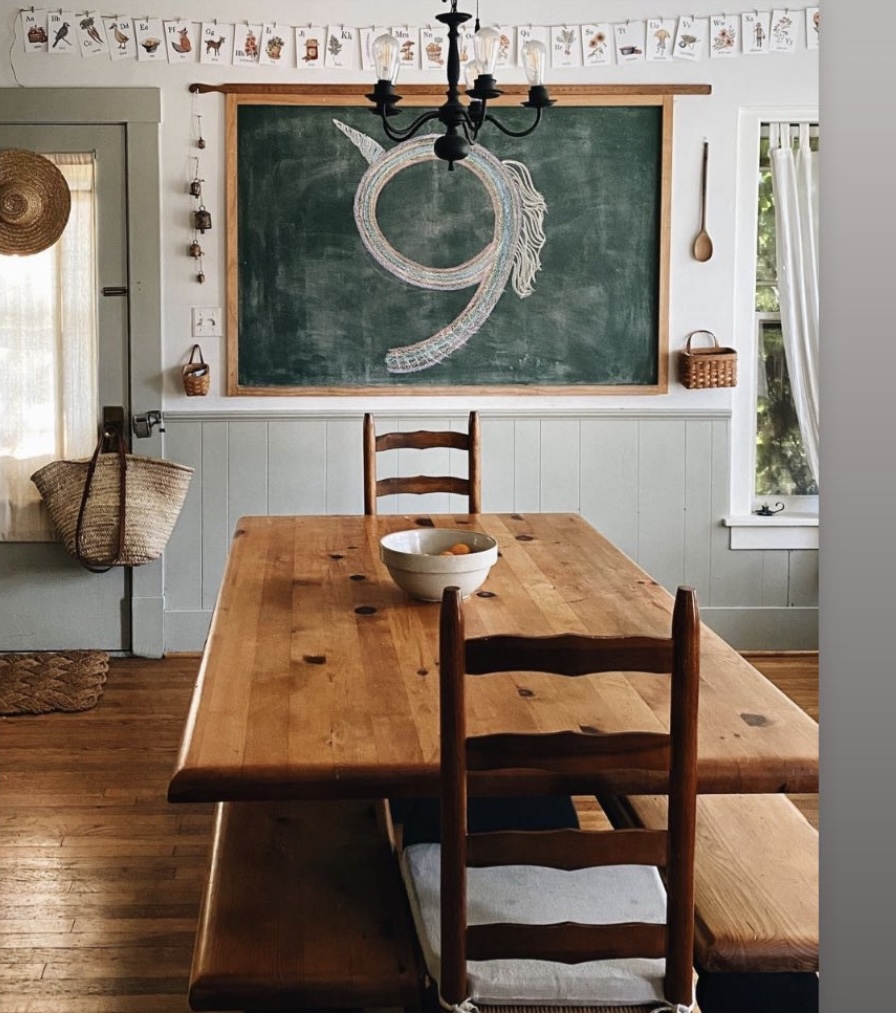
This proved to be a simple and affordable project that can easily be altered to fit your space and personal aesthetic. I’ve actually painted her green for several years and then went back to black, and maybe I will go back to green again some day.
")
")
")
")

")
")

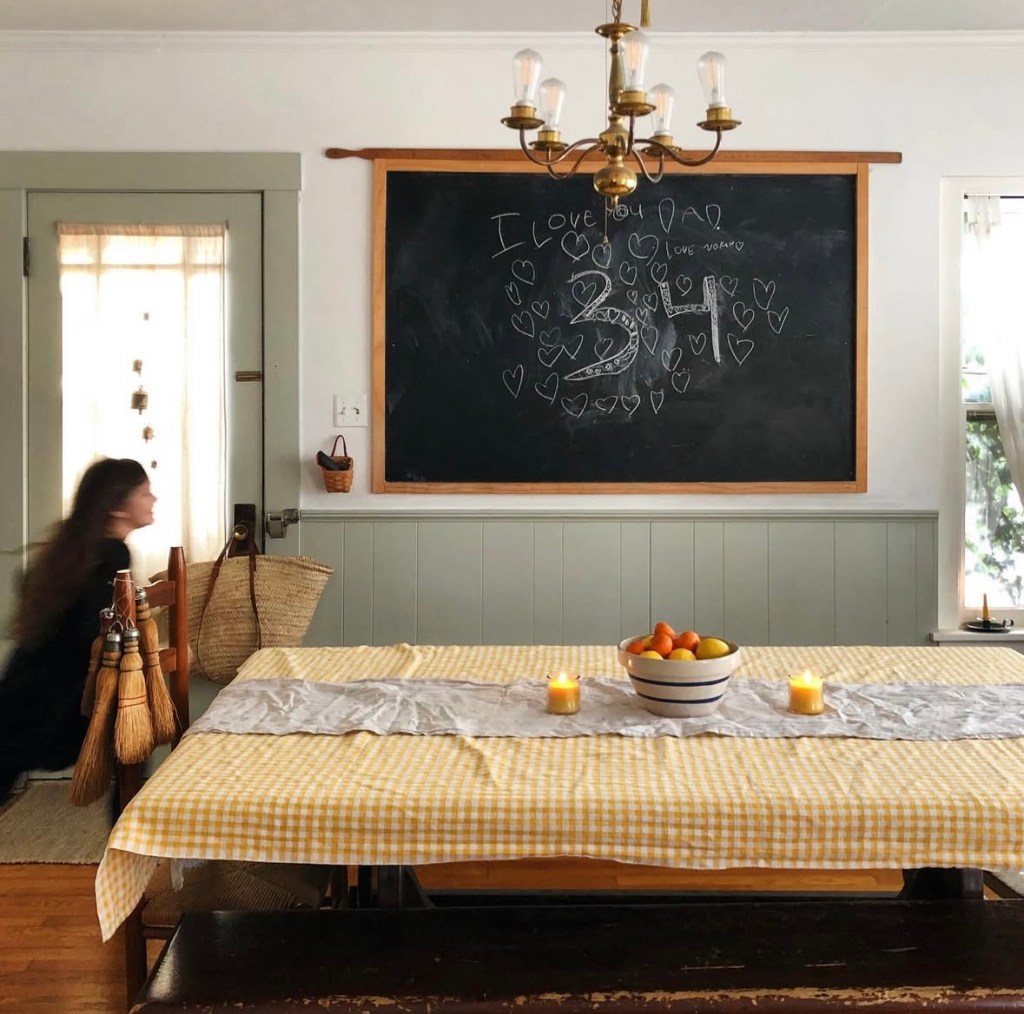
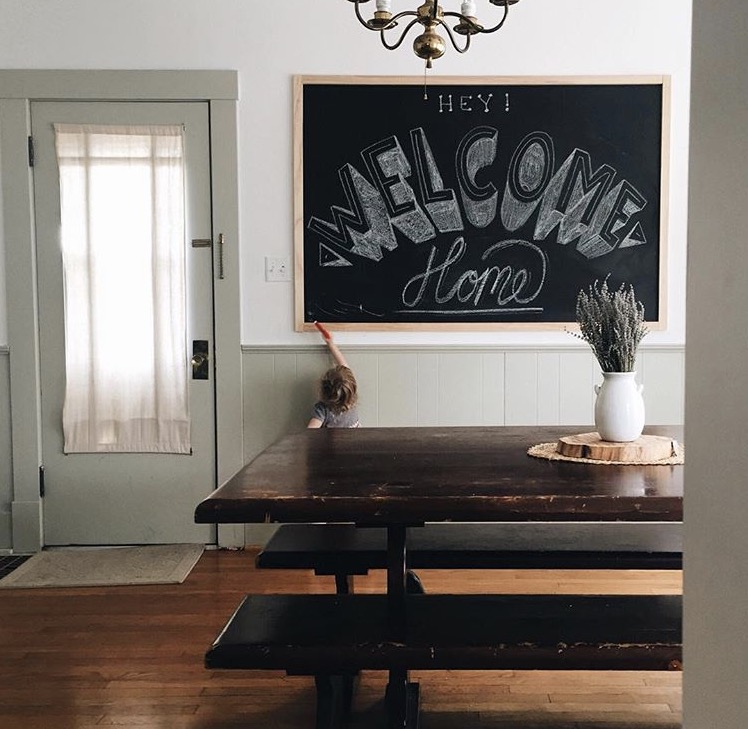
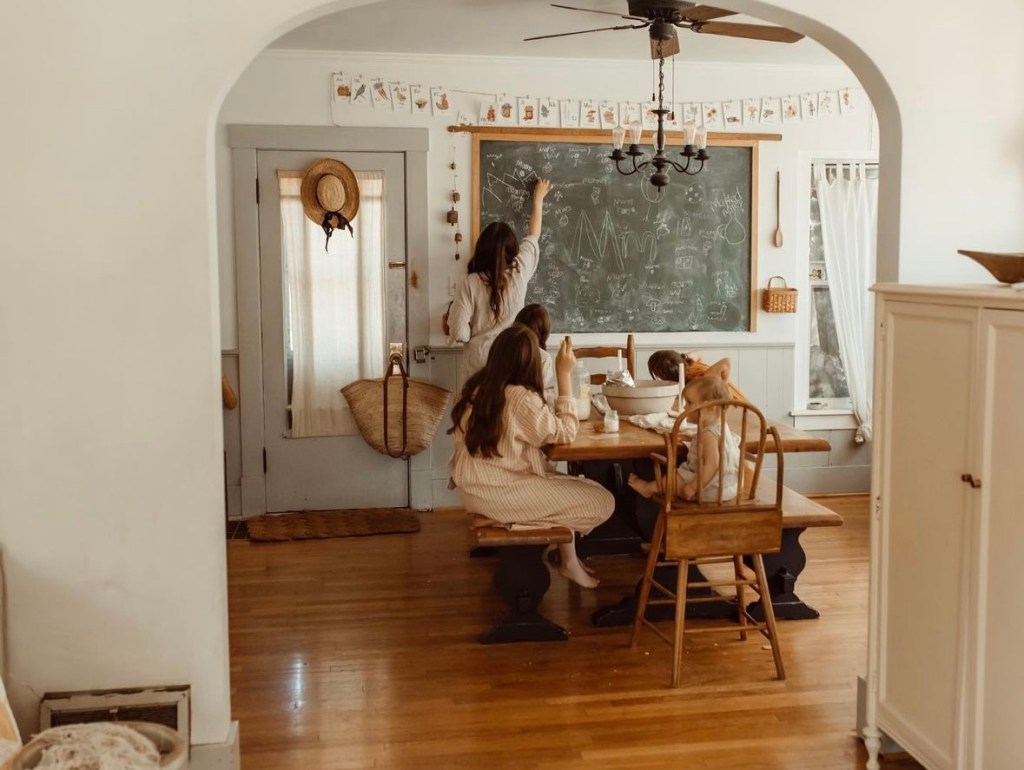
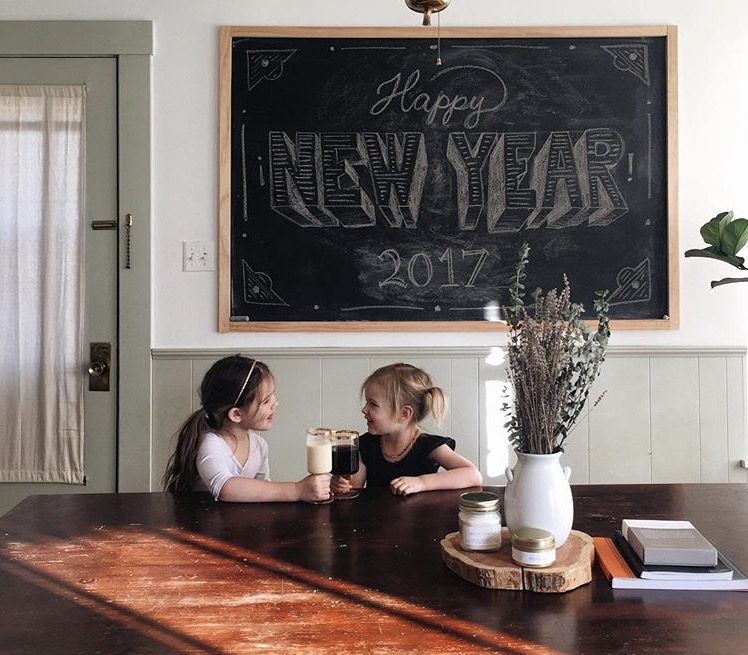
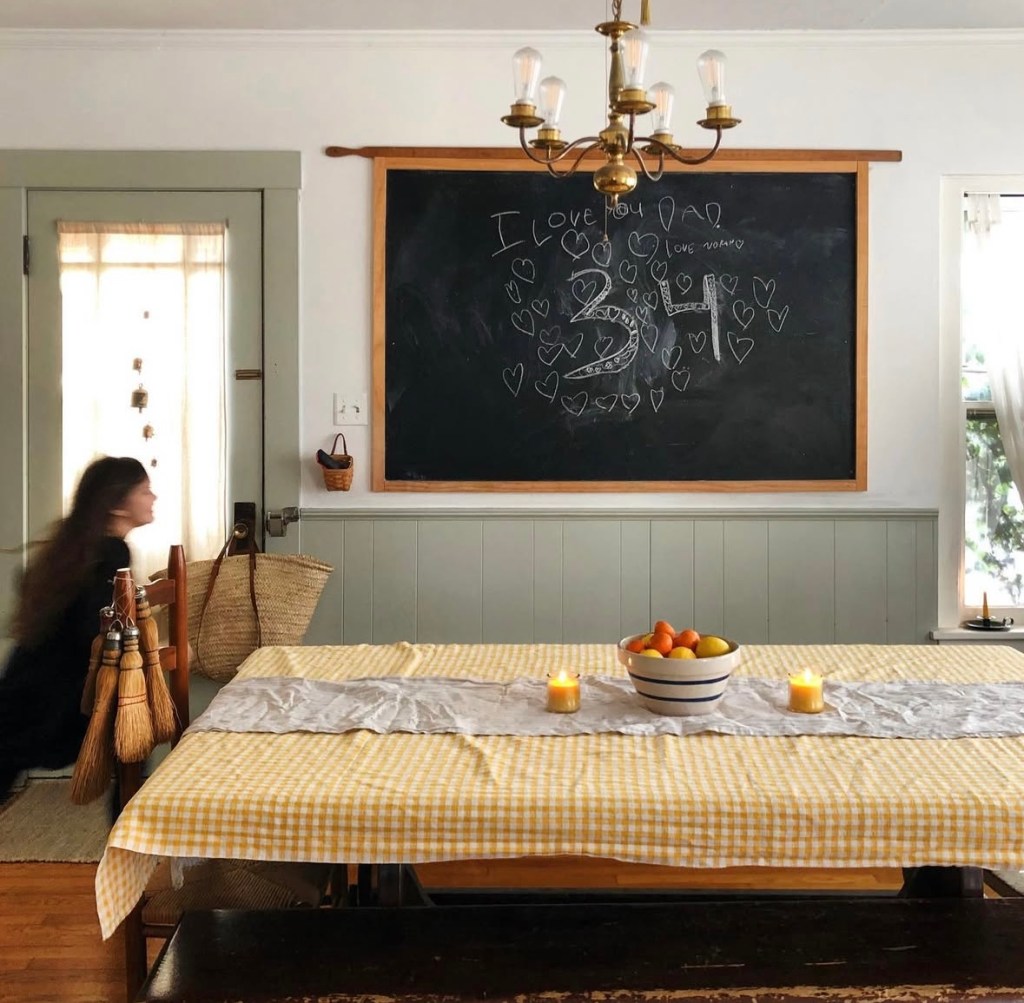
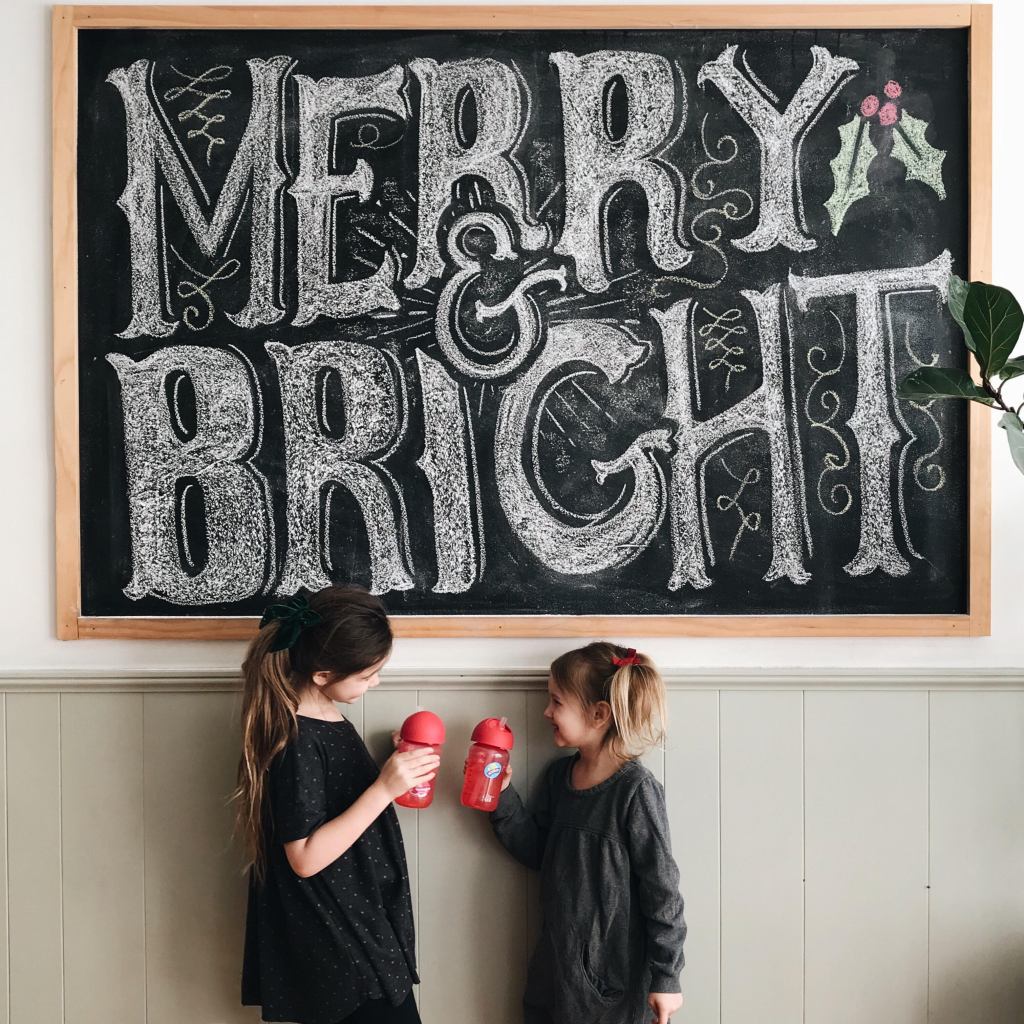
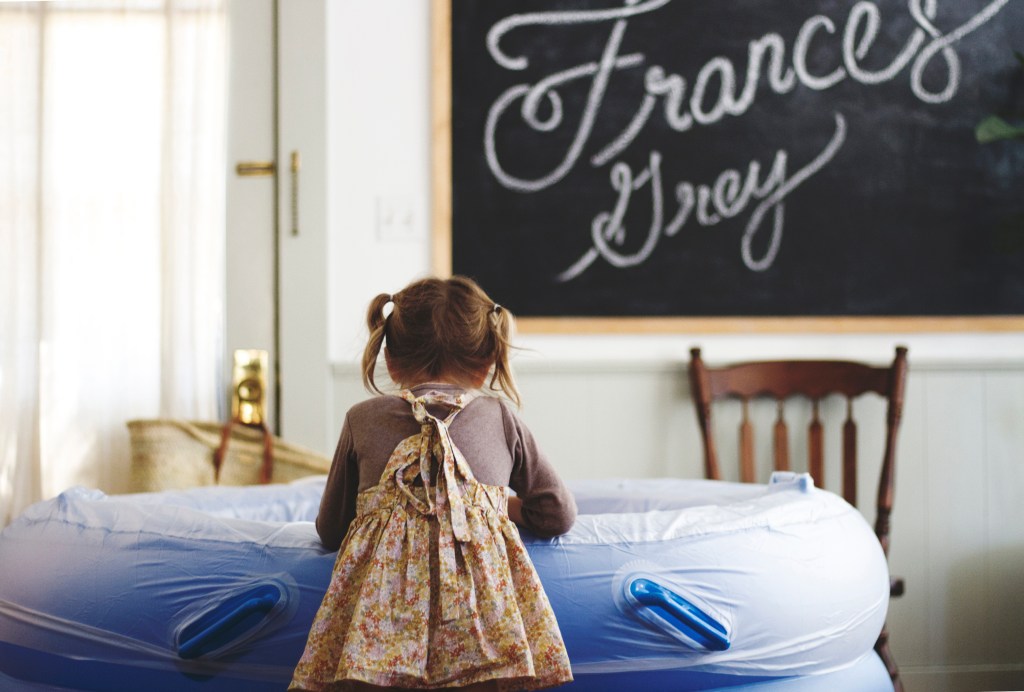
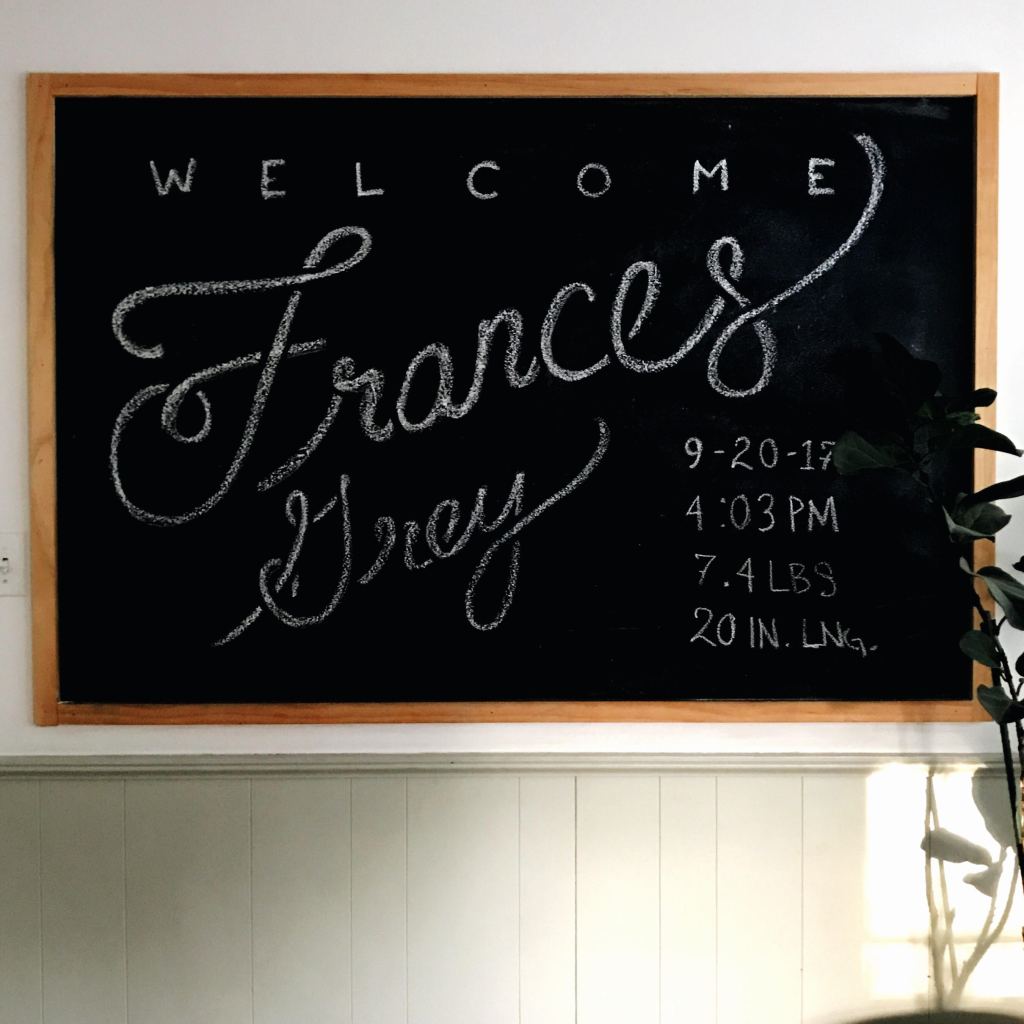
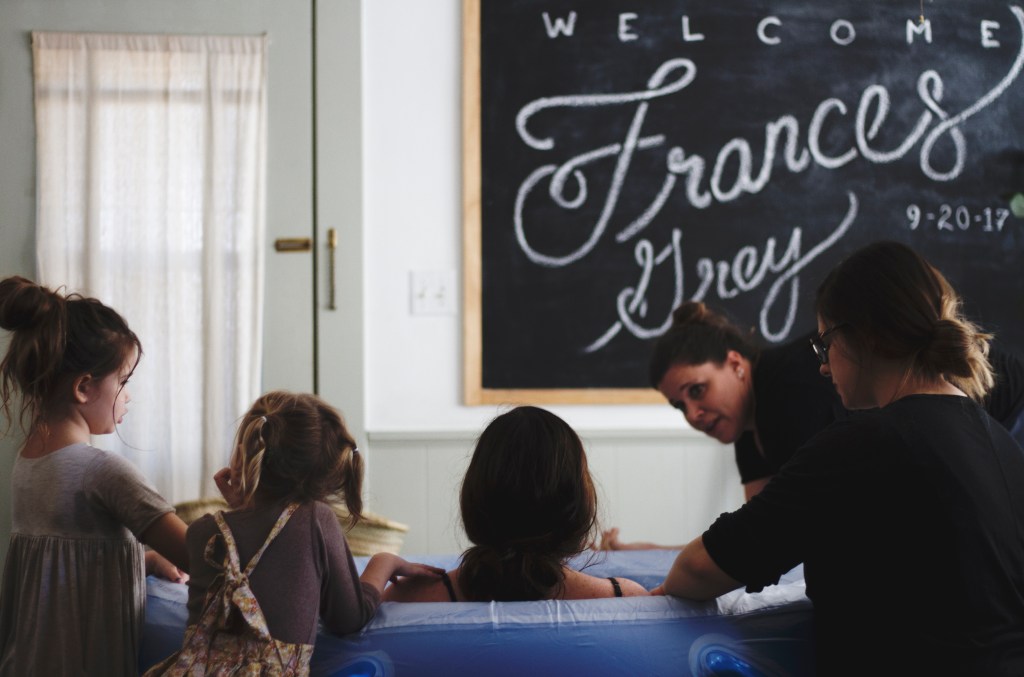
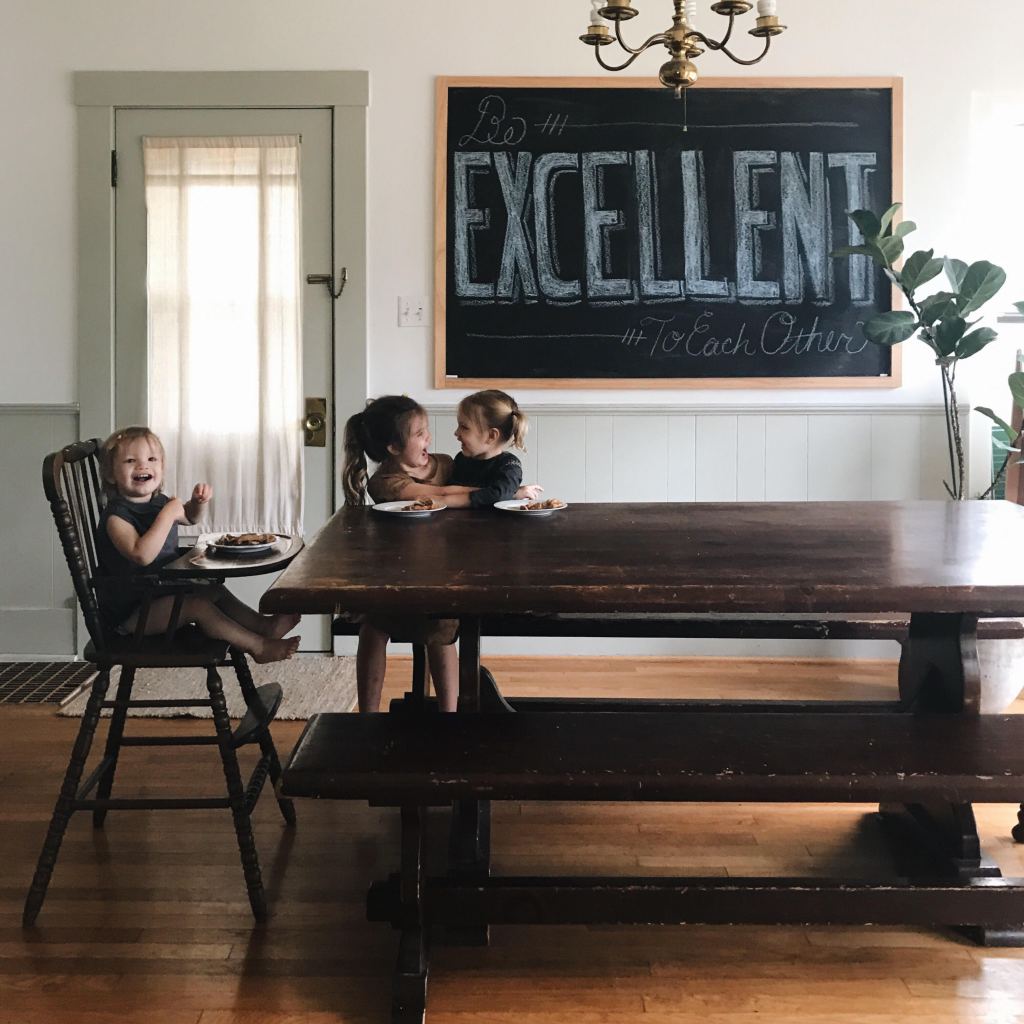
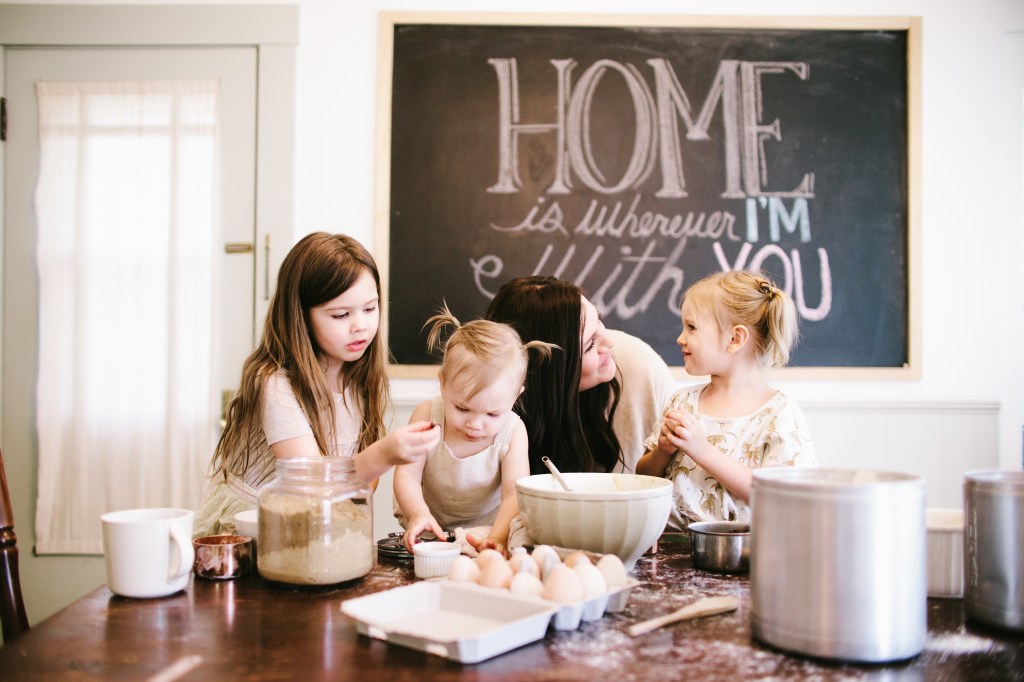
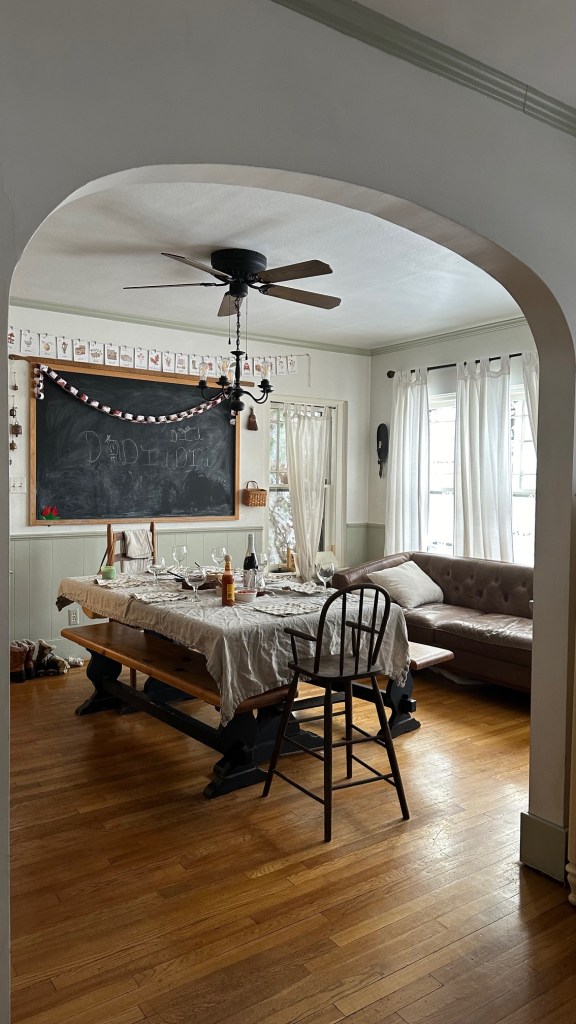
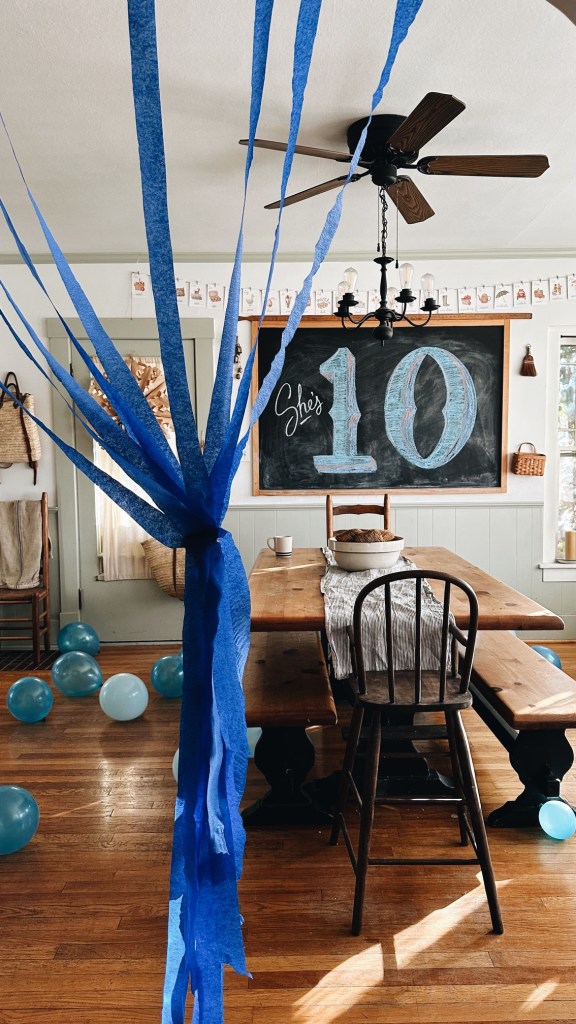
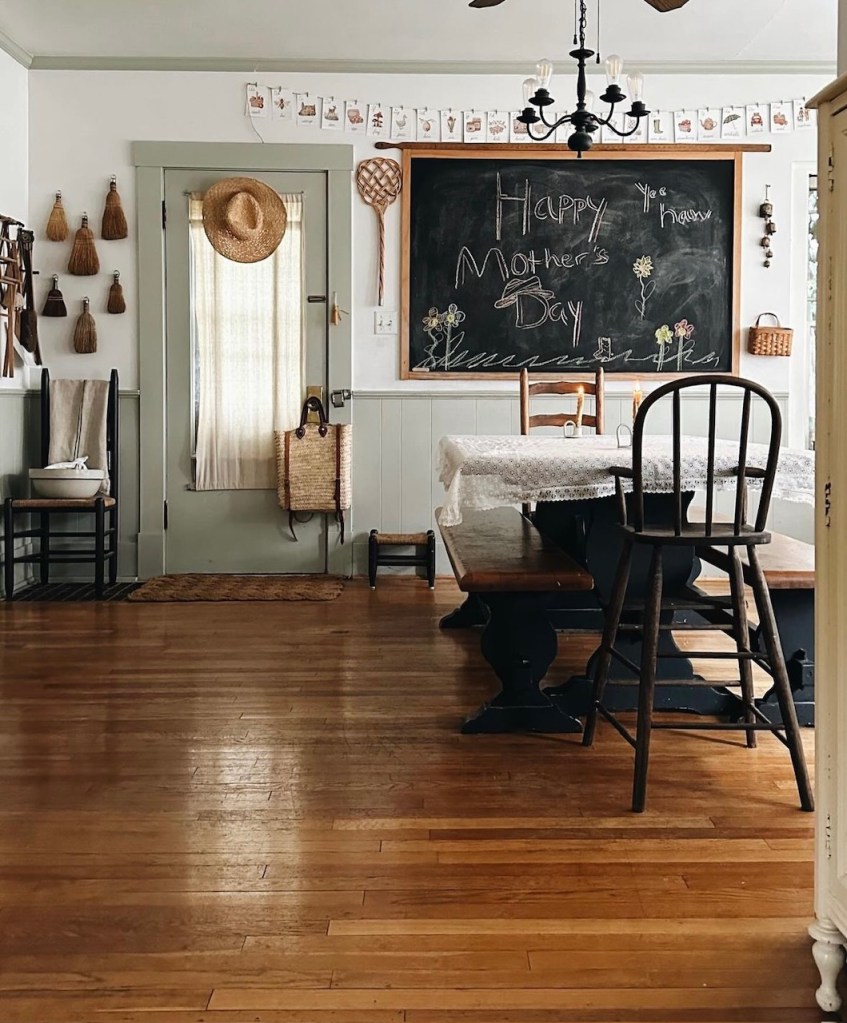
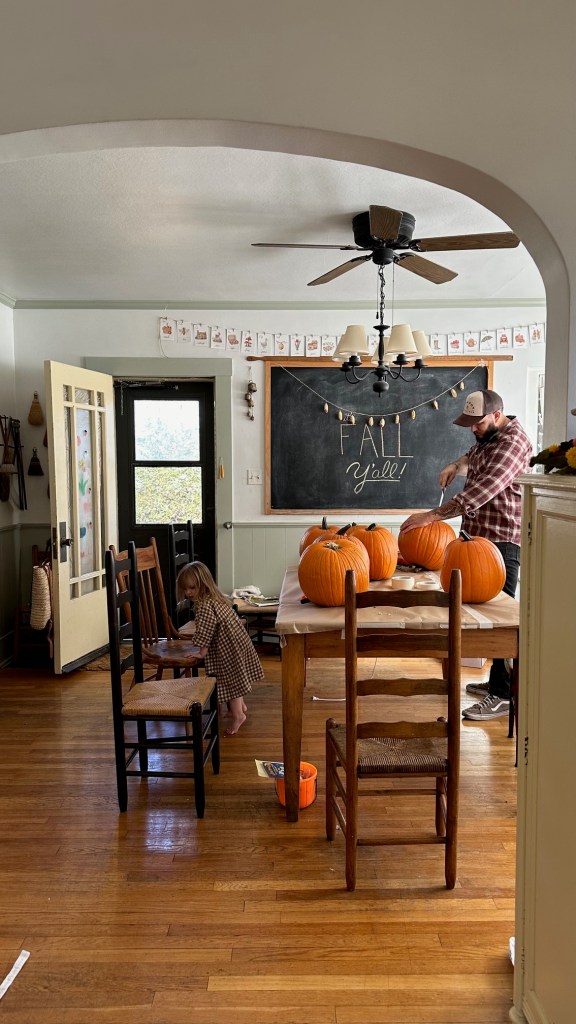
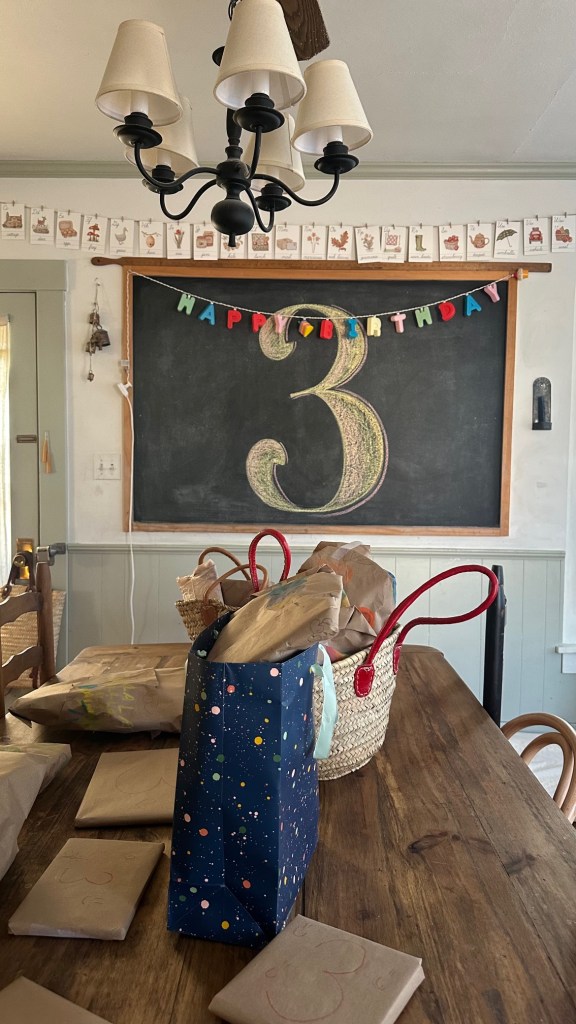
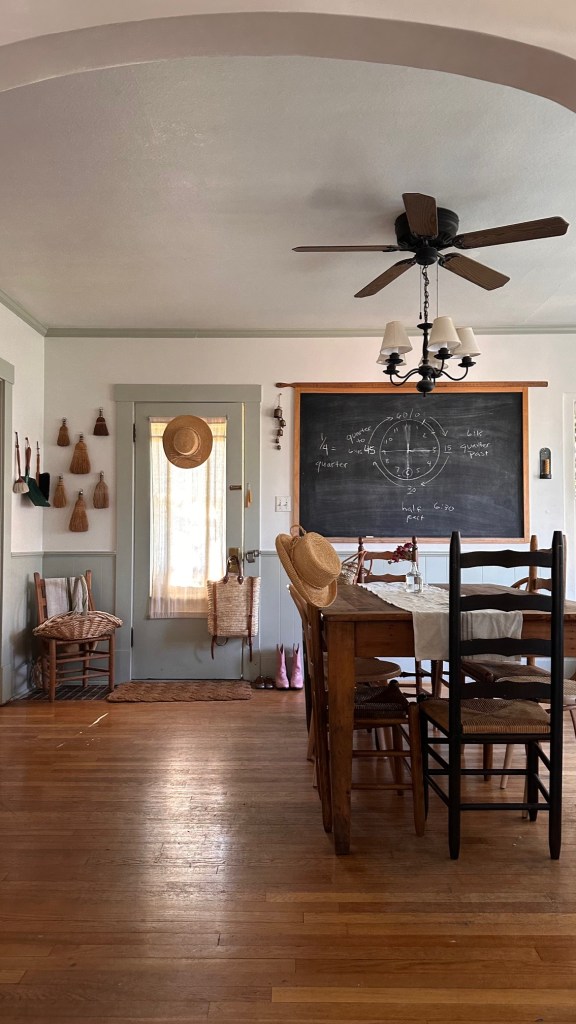
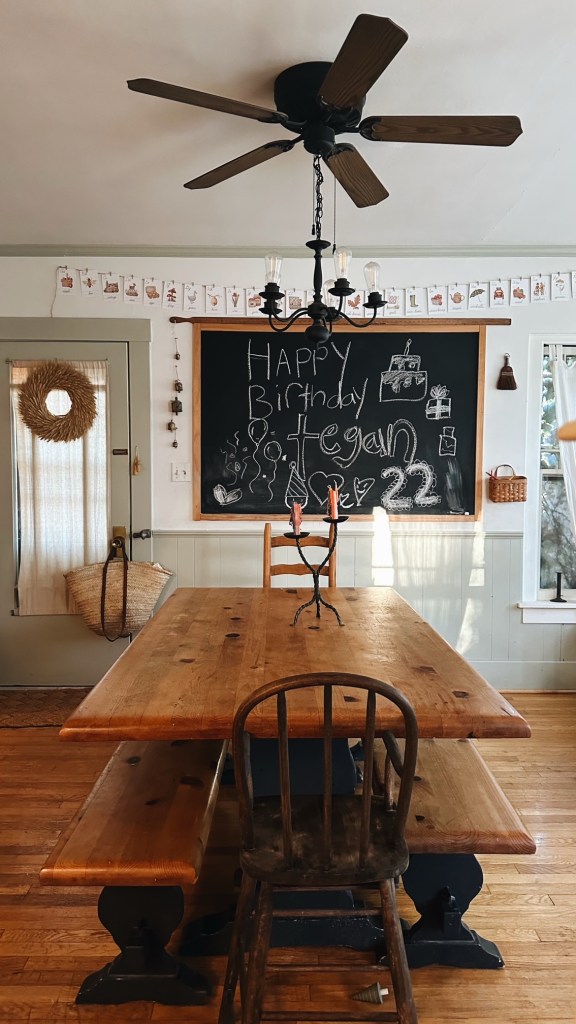
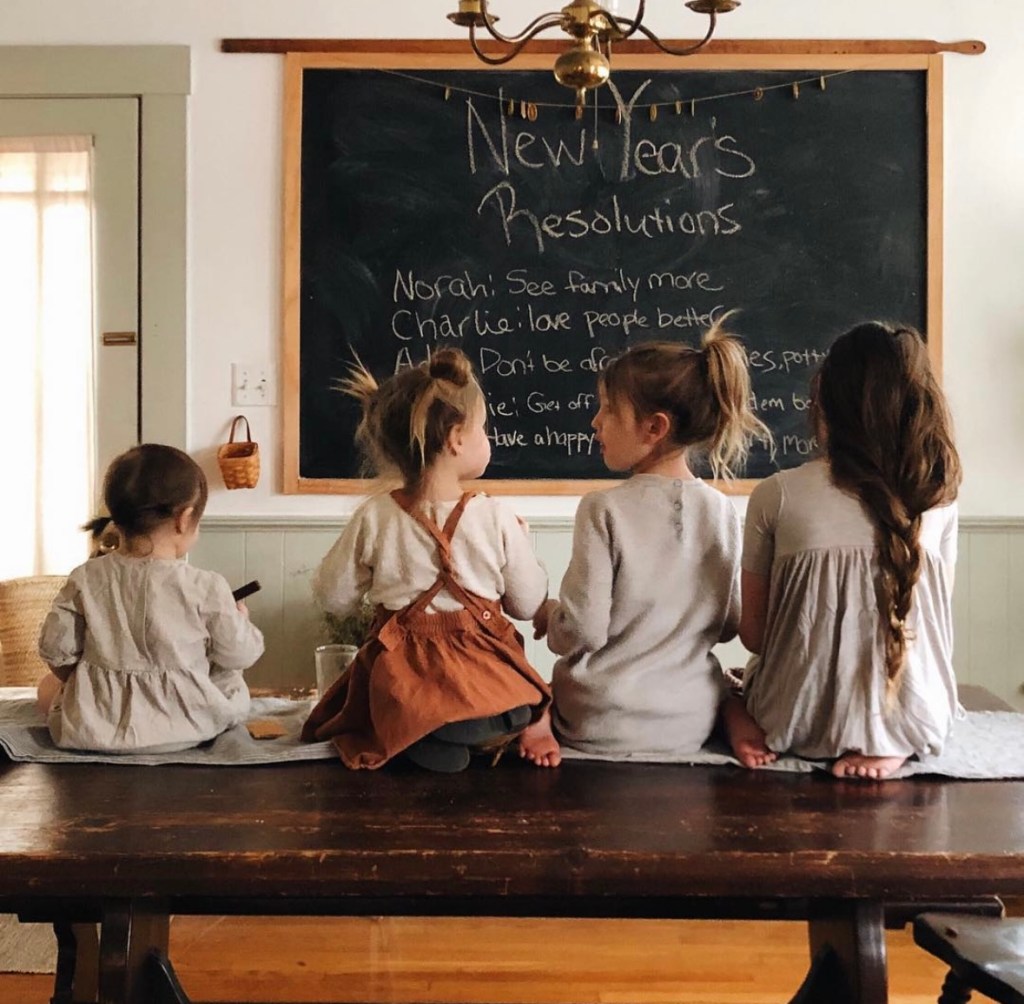
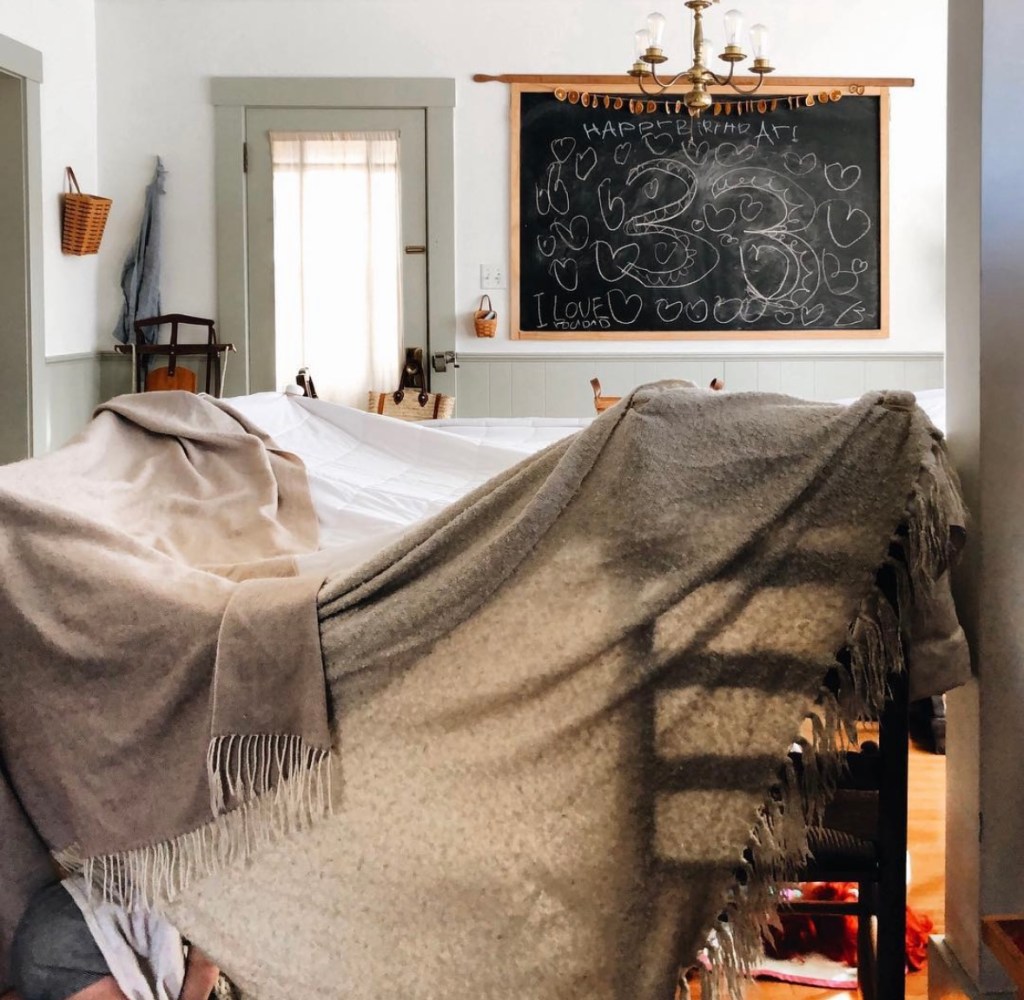
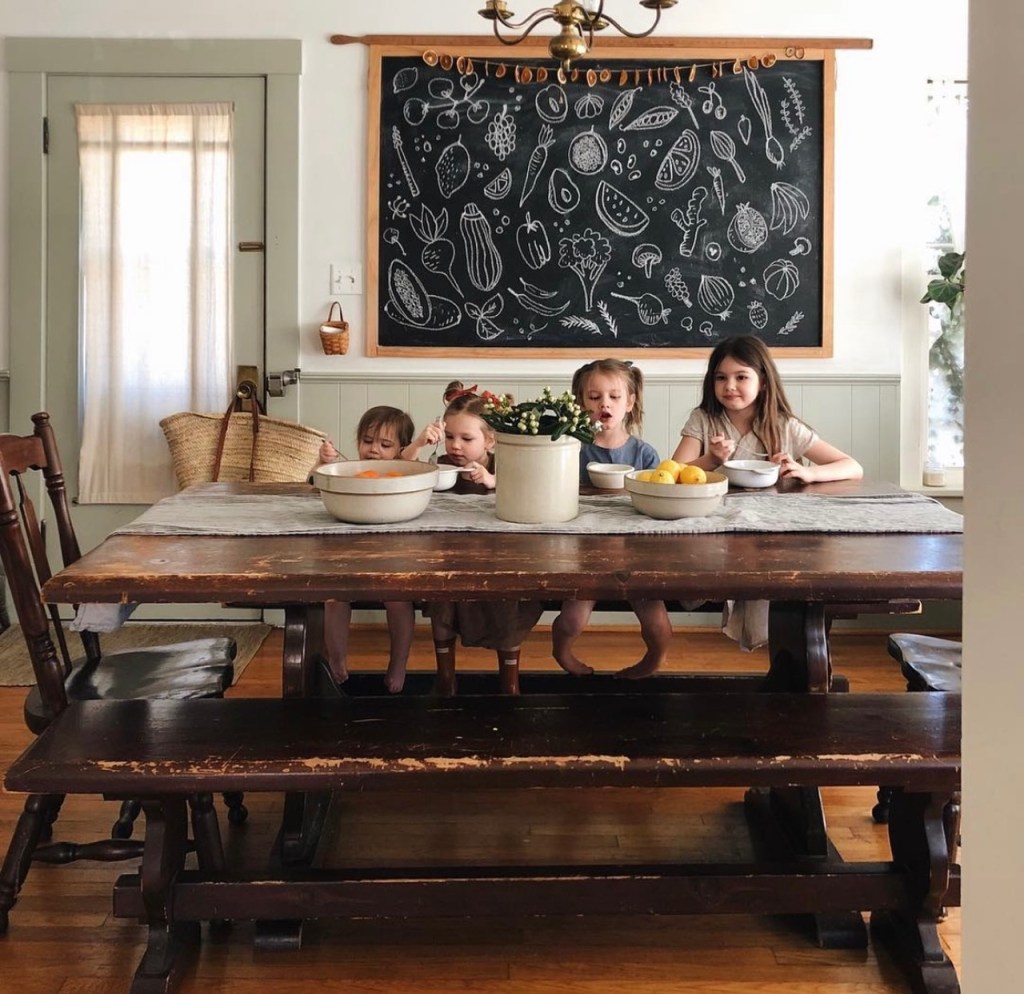
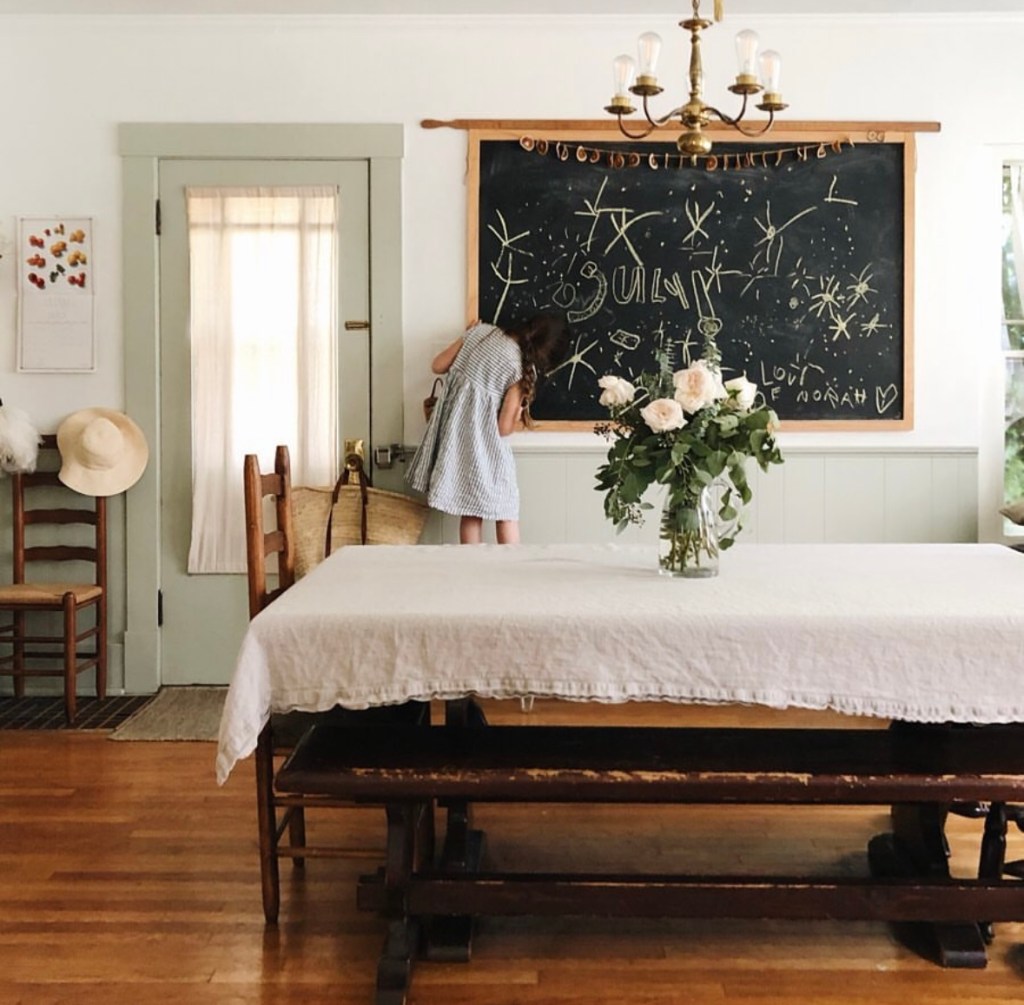
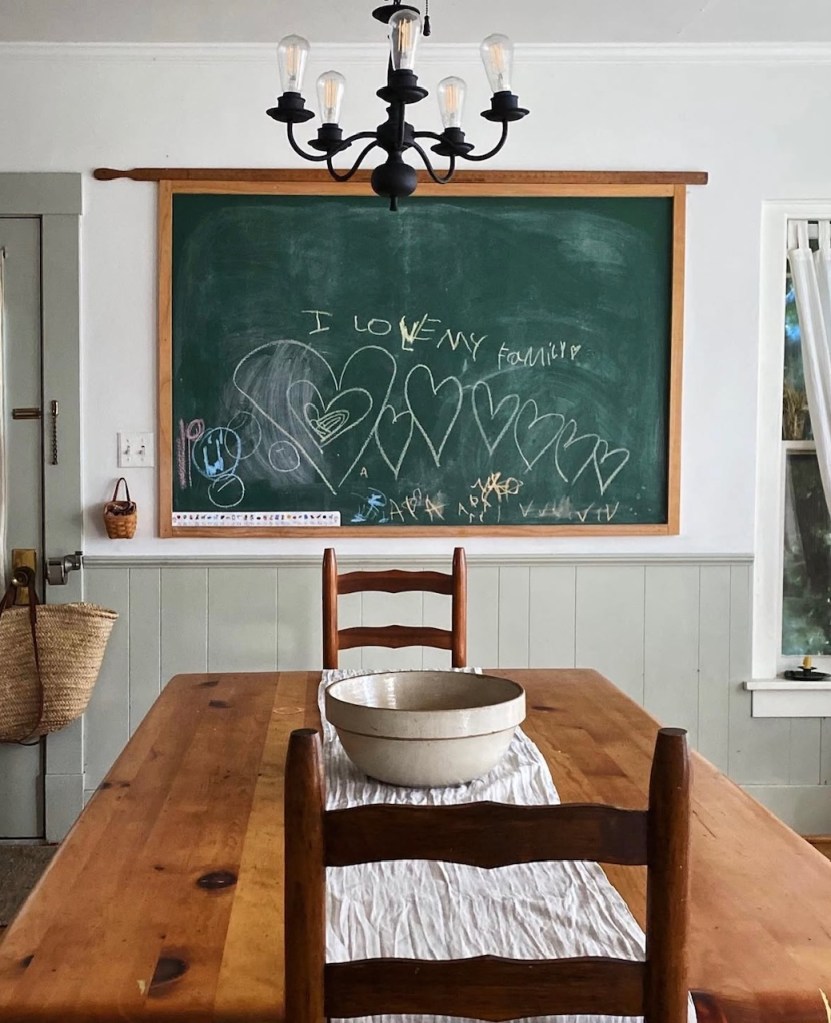
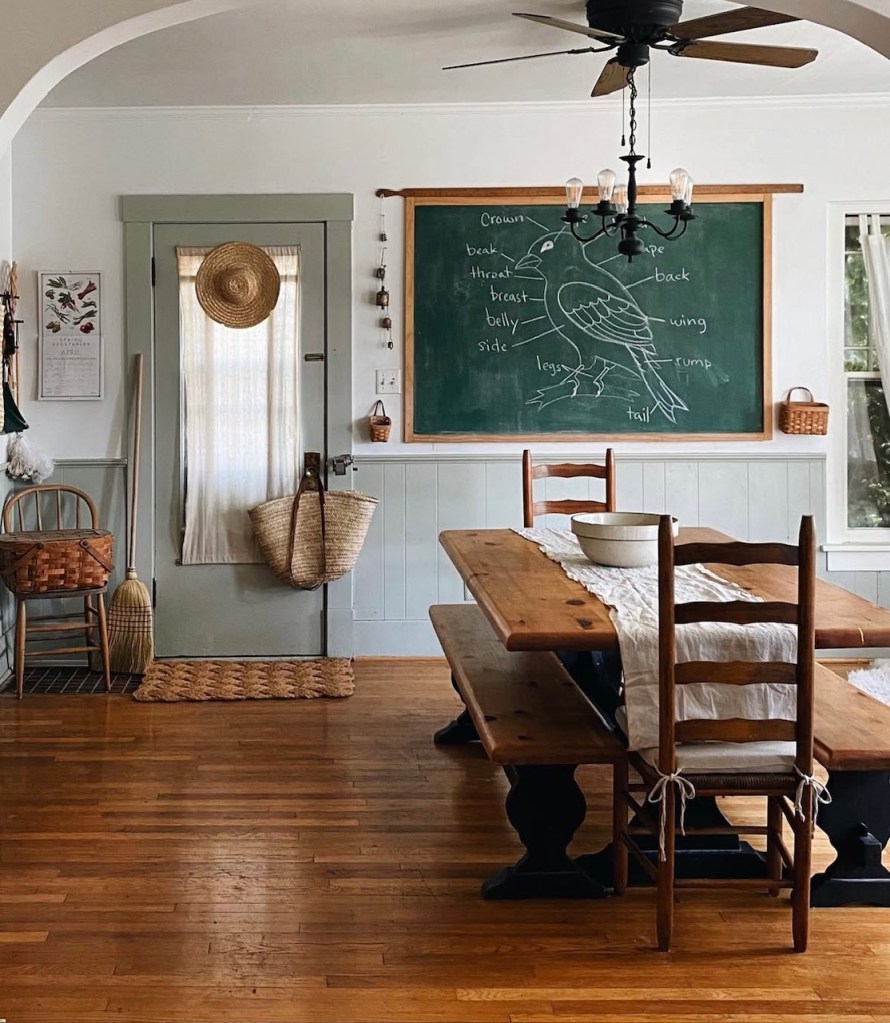
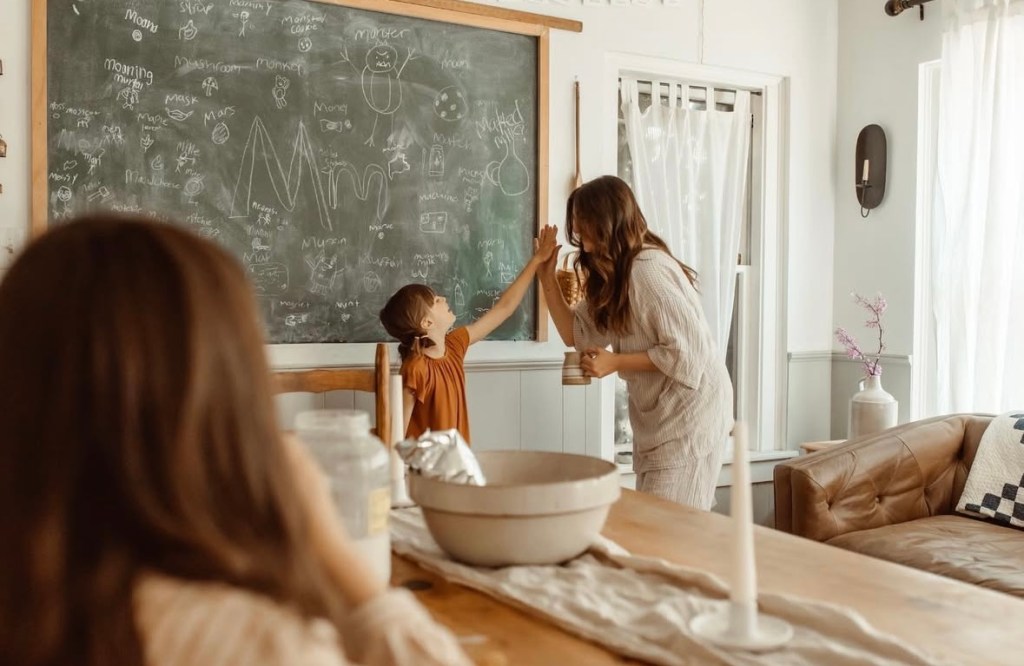
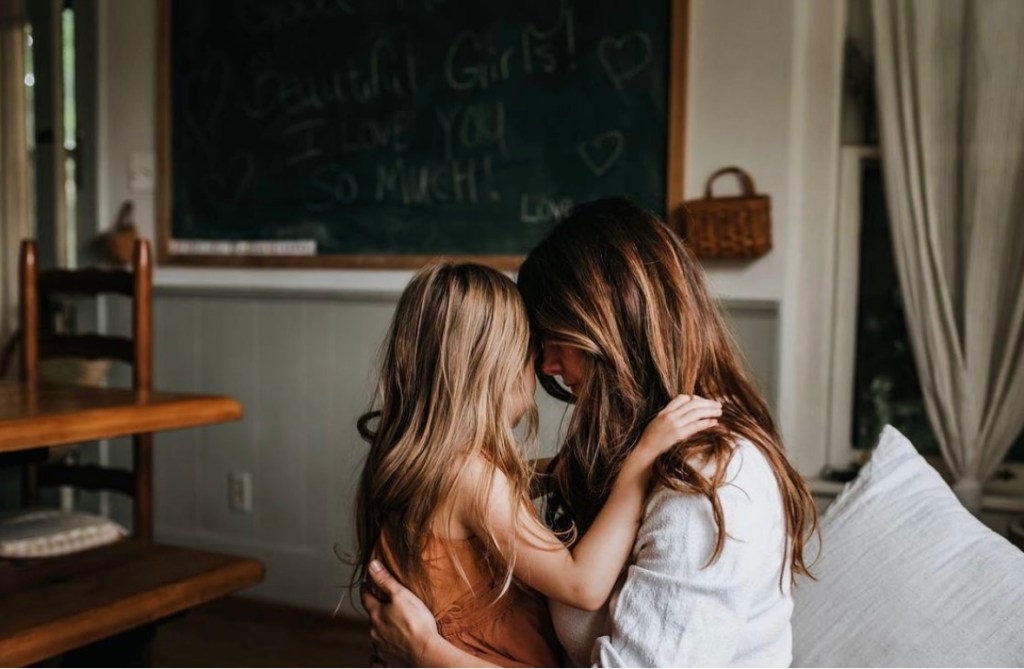
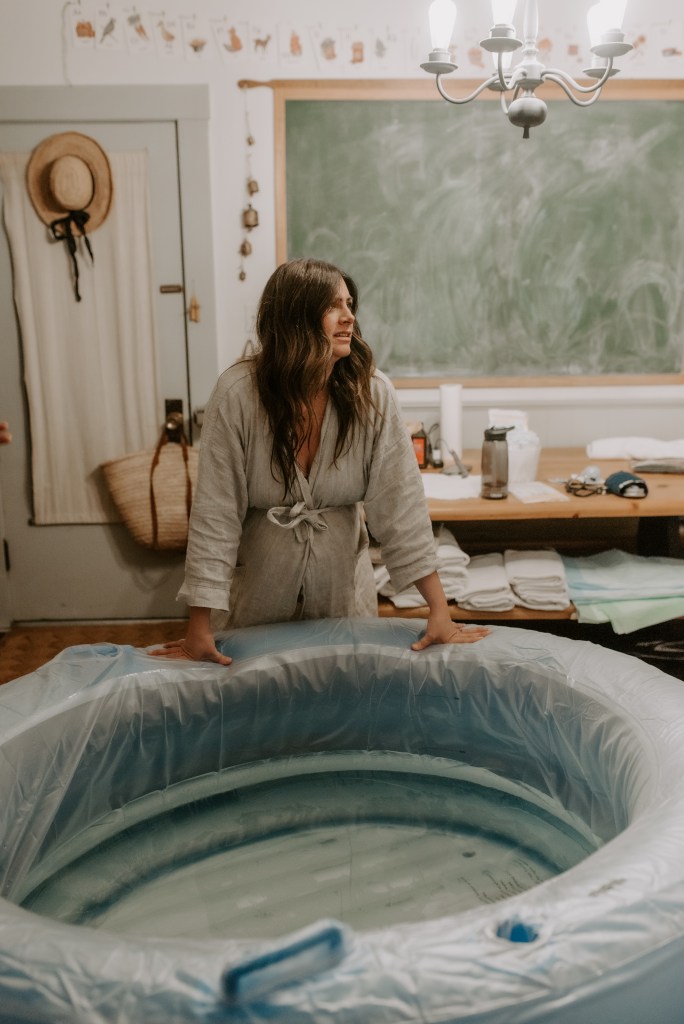
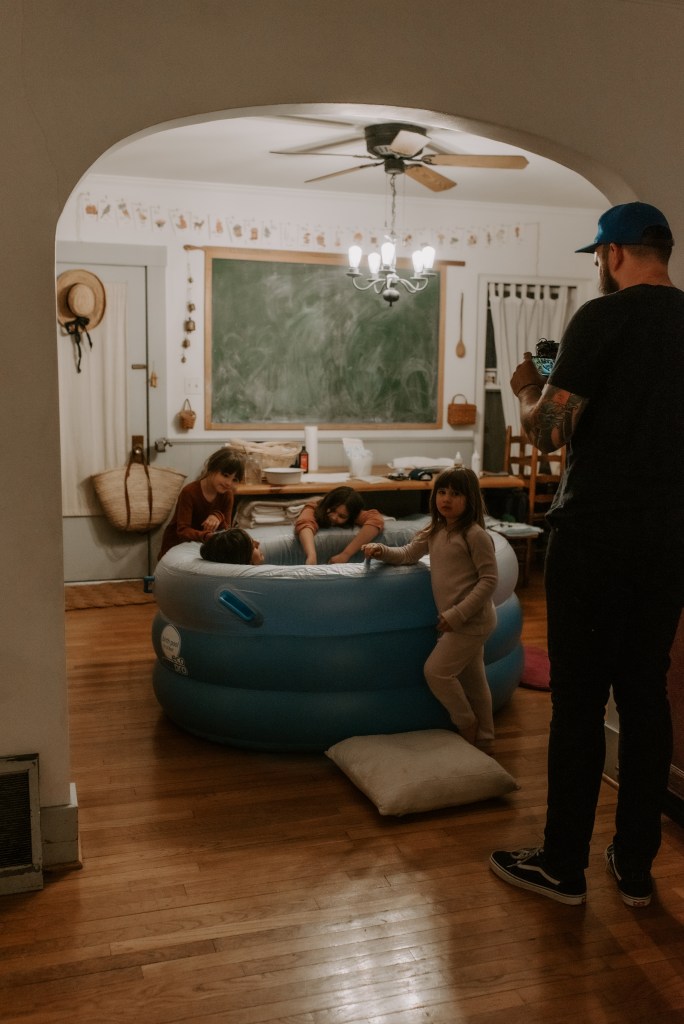
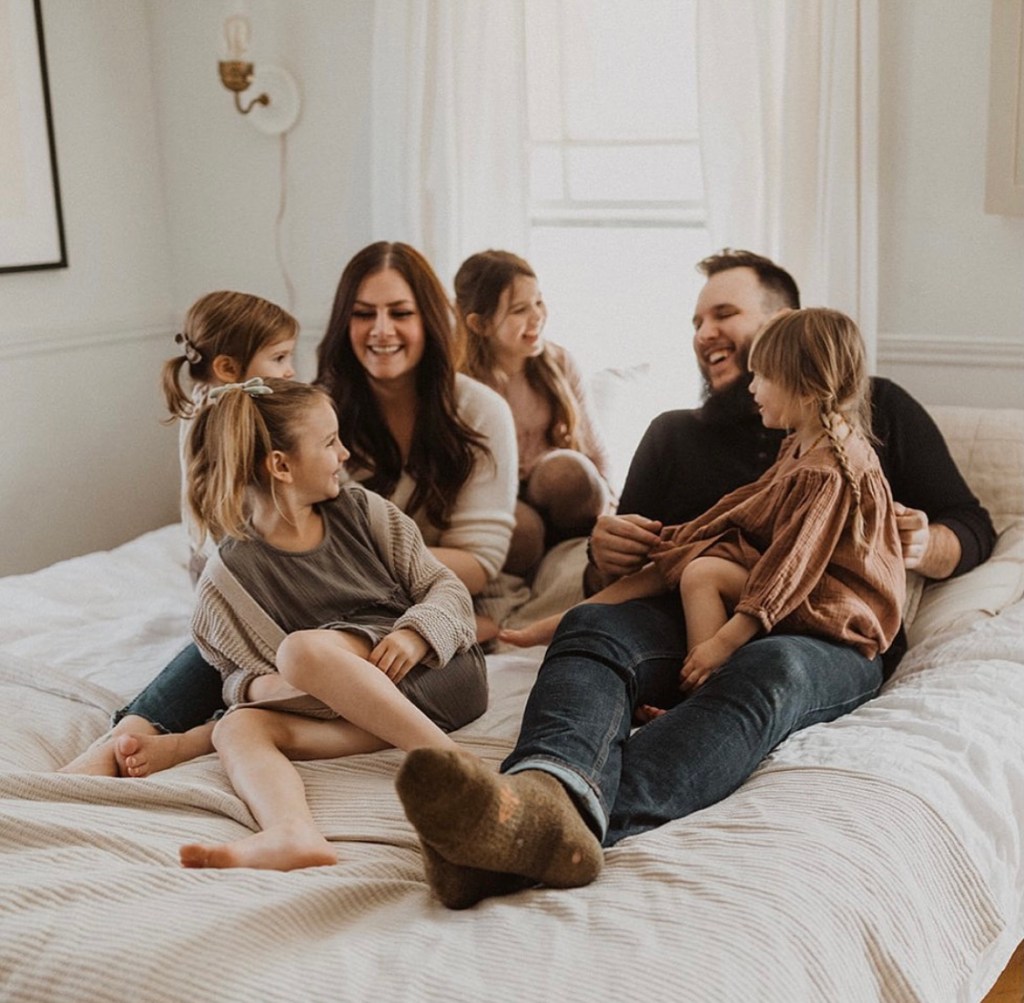
We have used this chalkboard as a centerpiece for our home education lessons, every birthday since we moved into the home in 2015, our home births, special anniversaries, baby announcements, going away and welcome home parties for friends, holidays, and even to celebrate an intimate backyard wedding we hosted for past friends…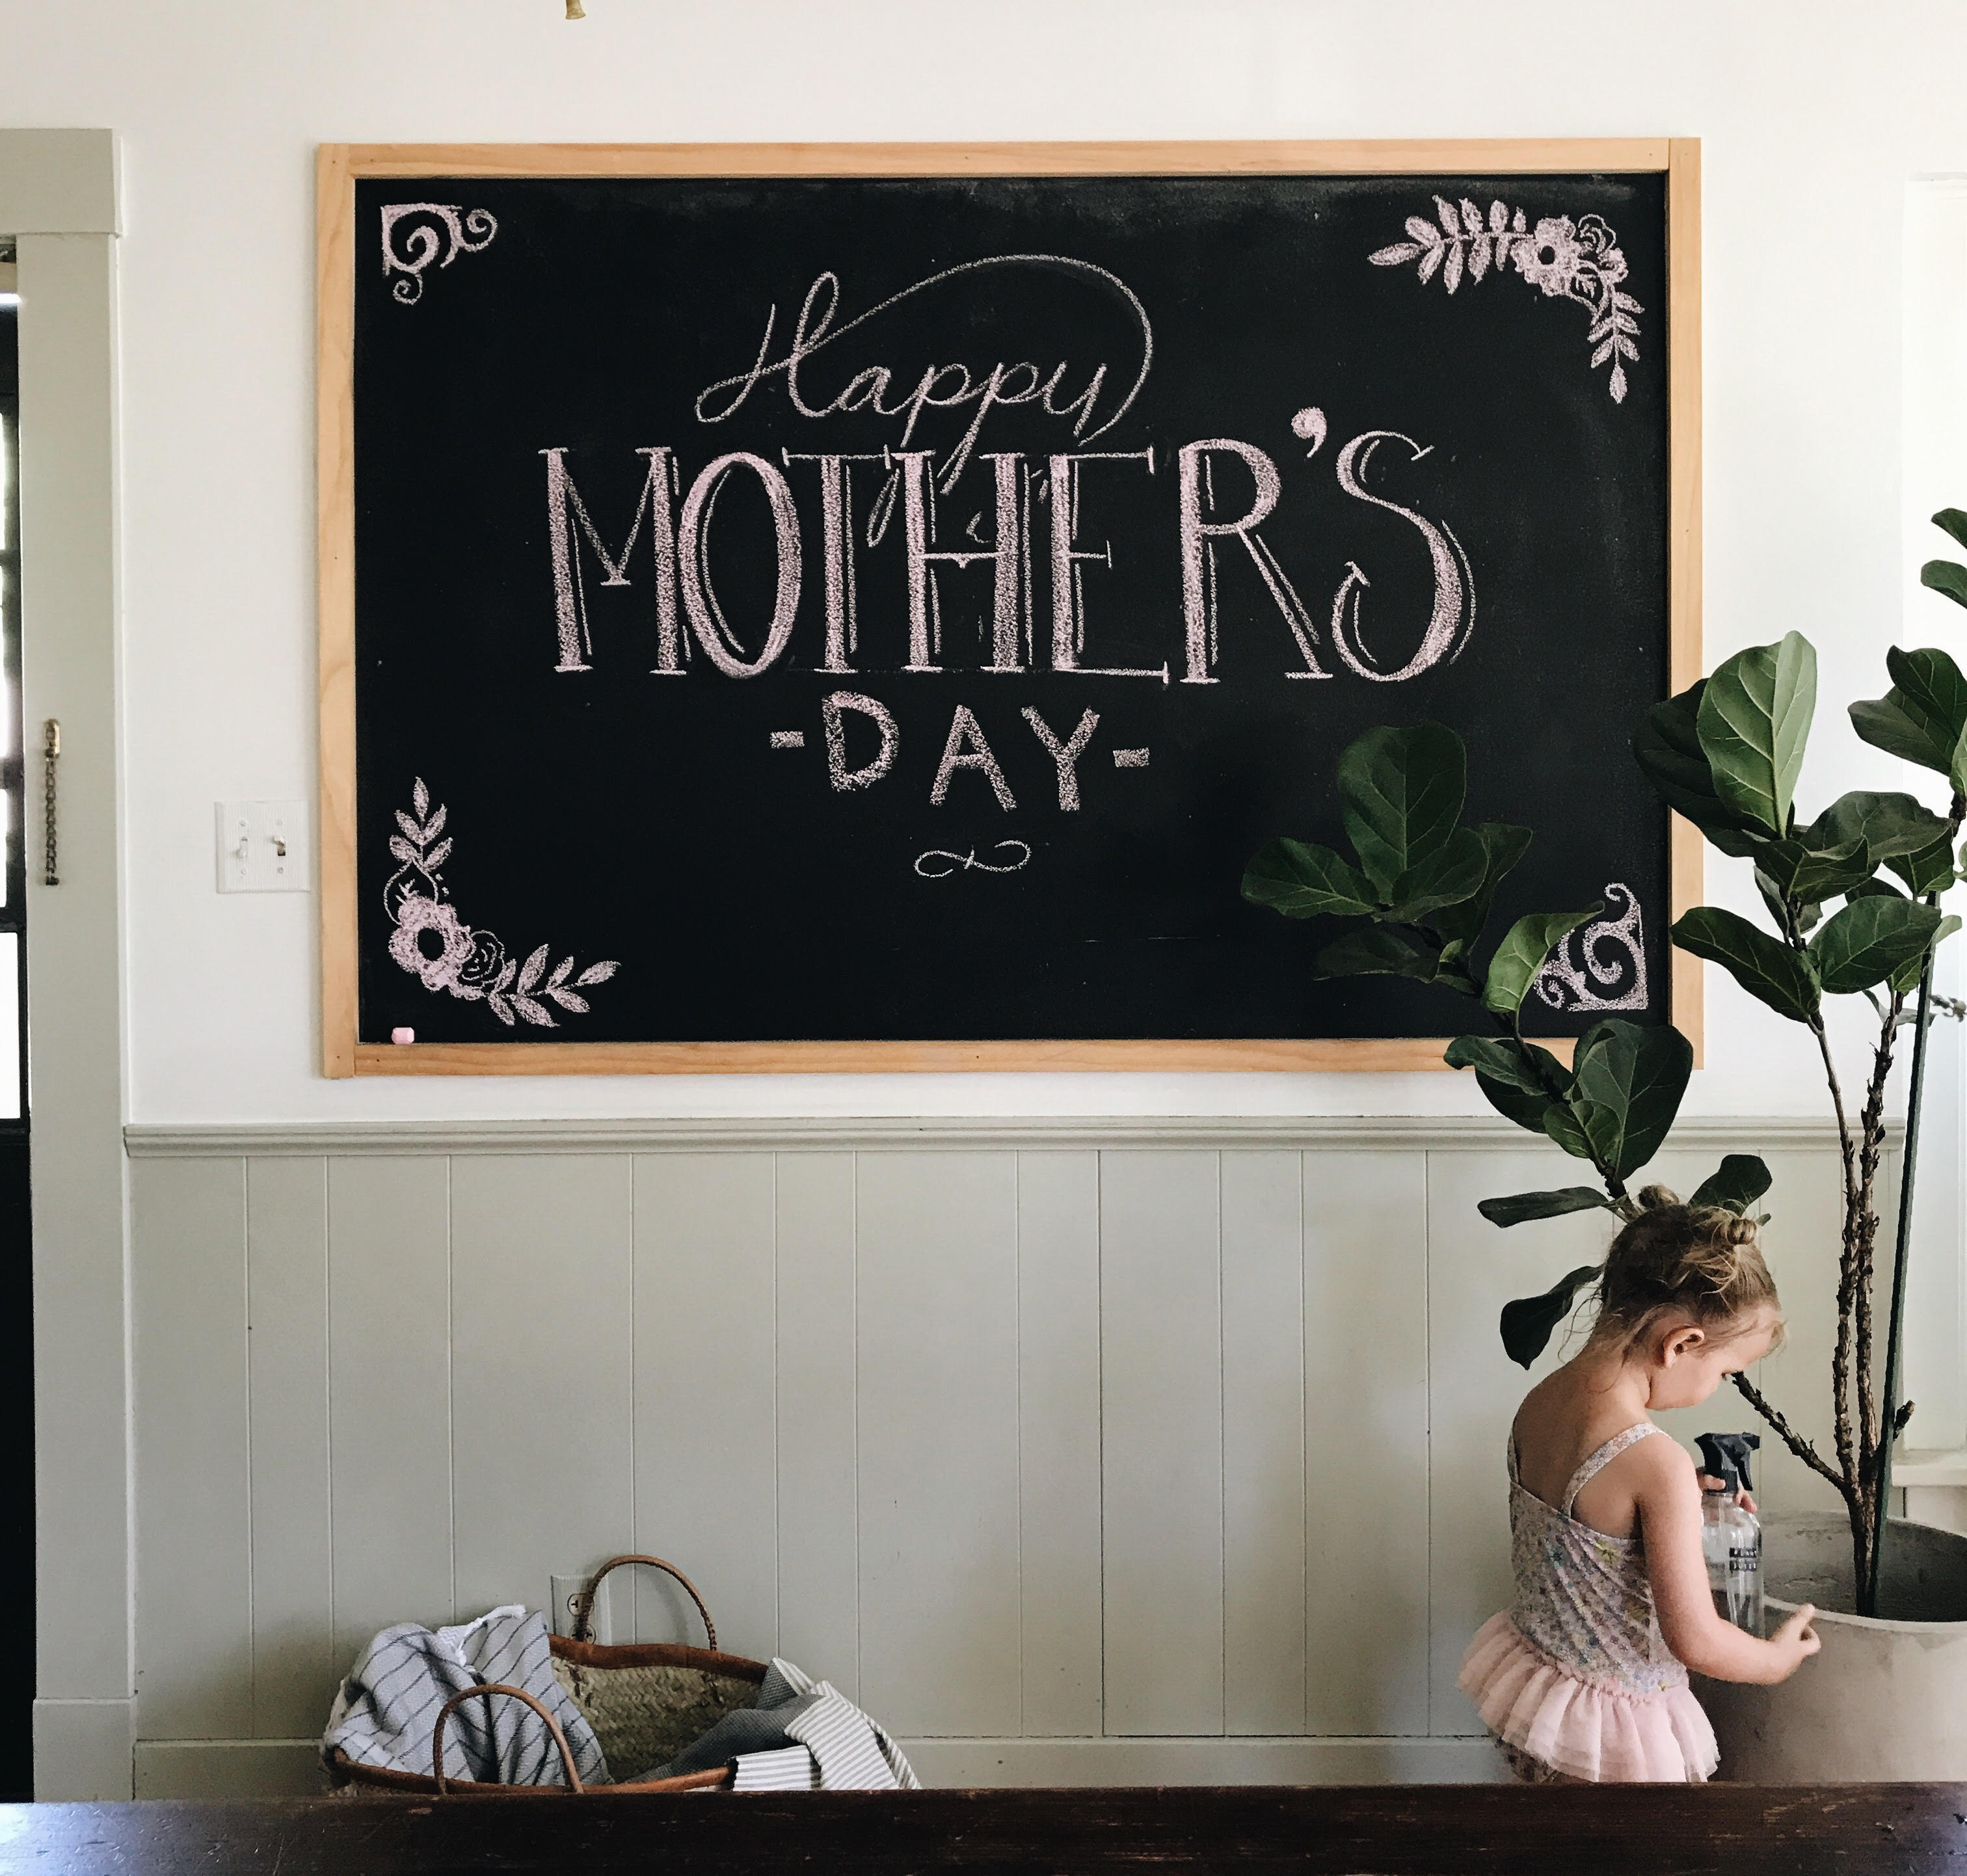
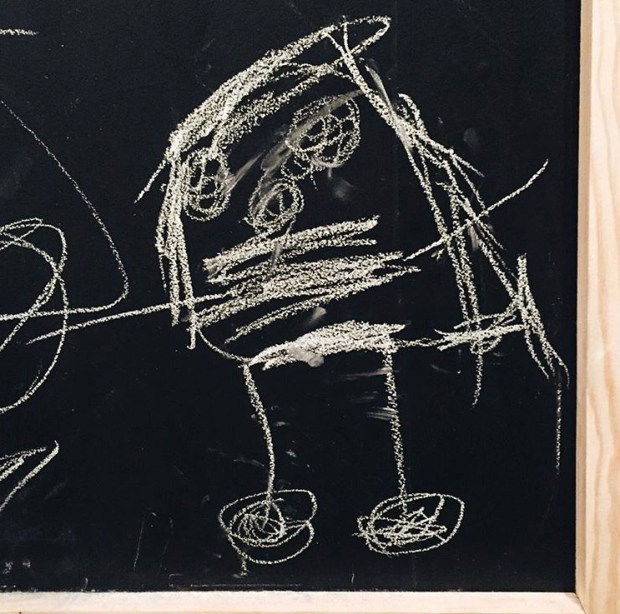
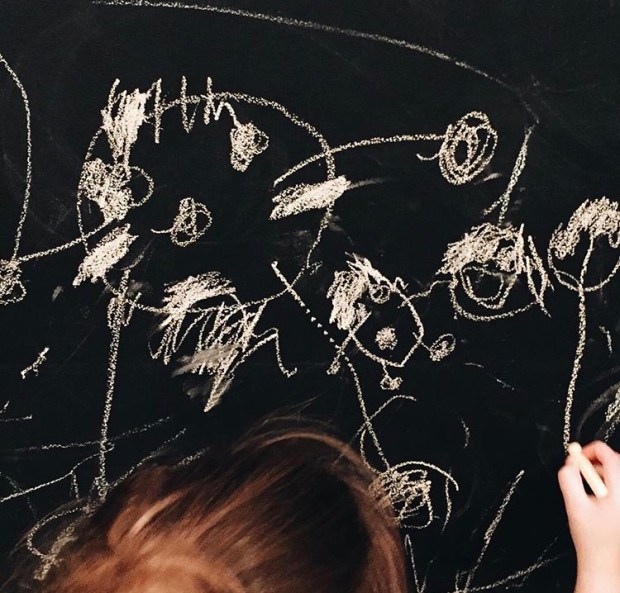
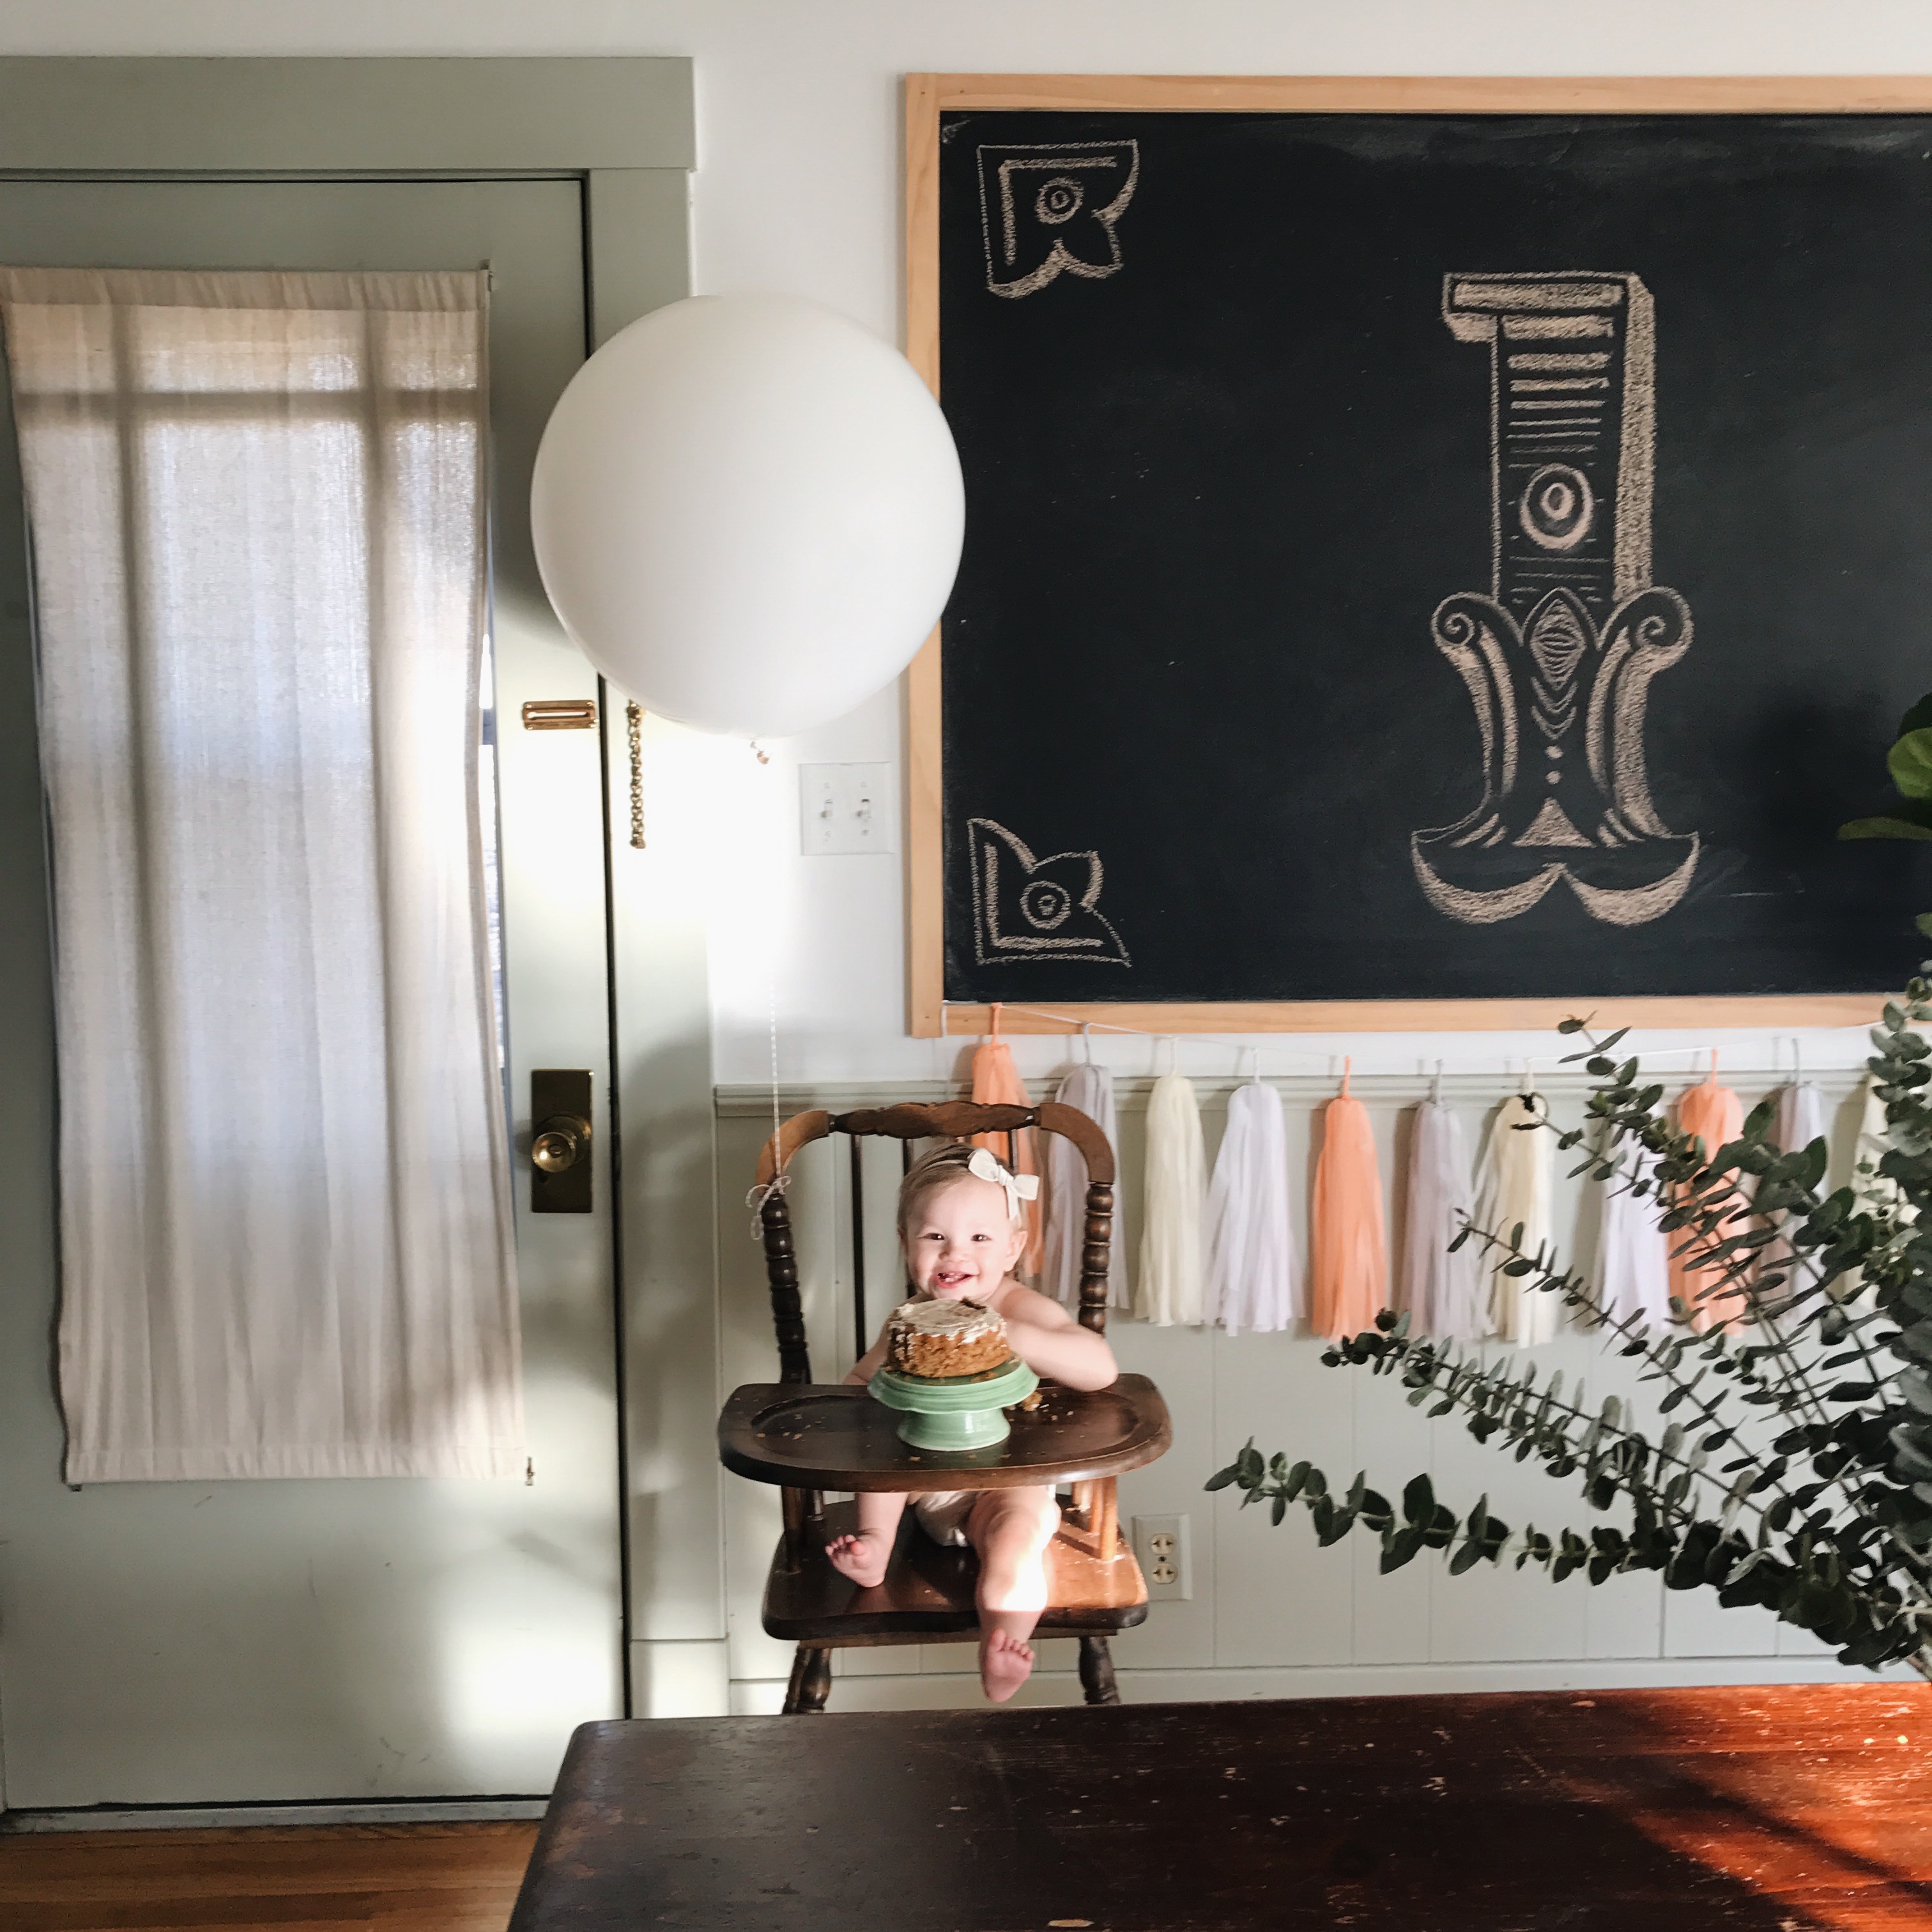 So many meals, special events, laughter, heartaches, and valuable conversations have been shared with friends in this space. So many lessons and core memories have been celebrated in this space & even our oldest’s first portrait of me and our family was a chalkboard piece!

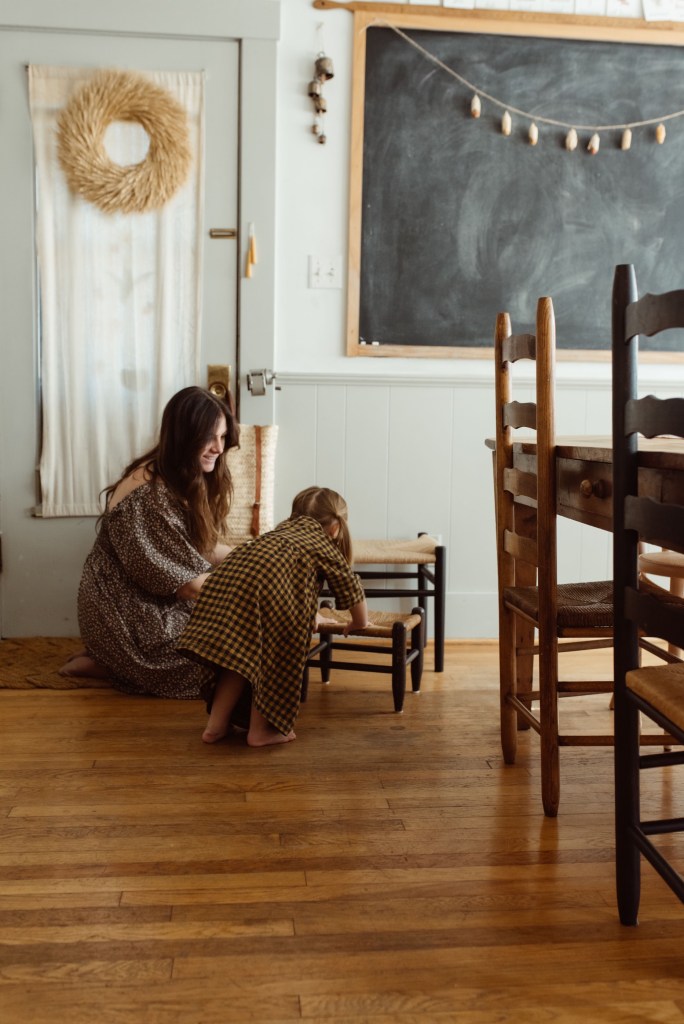
I feel like I can’t call this ‘just a chalkboard’ because it has been incorporated into creating so many special memories and holds so many dear moments for us in our home. When I imagine leaving this home, I get most emotional about saying goodbye to this space.


I hope this was helpful and that you’re inspired to create a special chalkboard in your home to be used for all kinds of memory-making moments and events!


")
")